
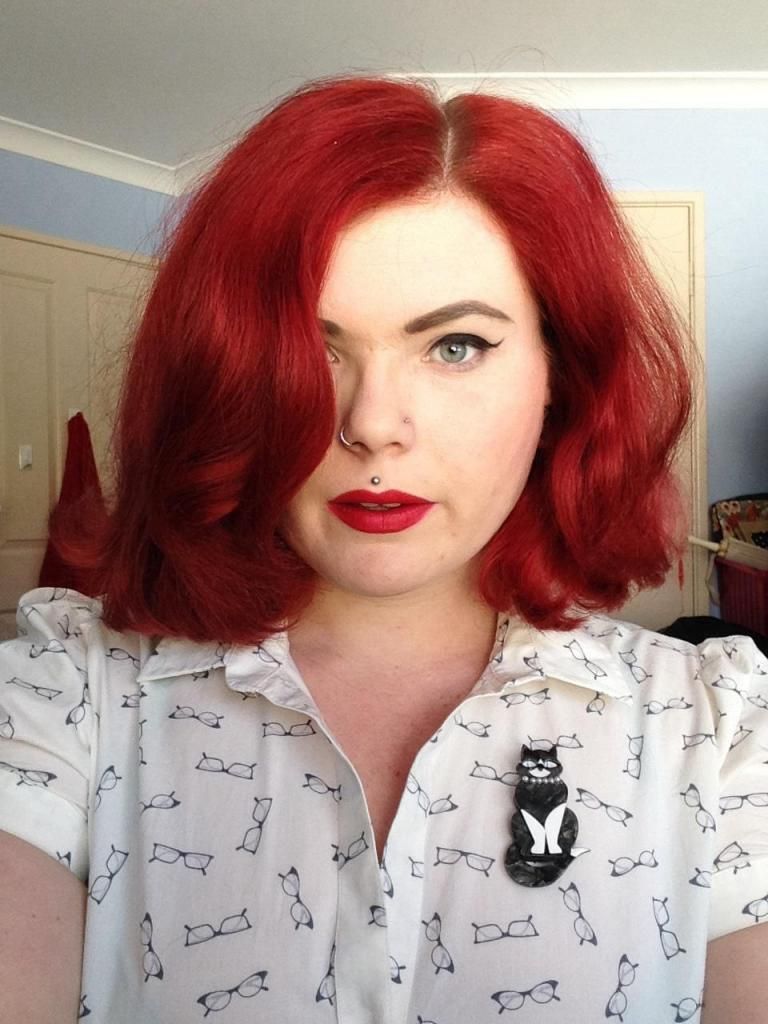
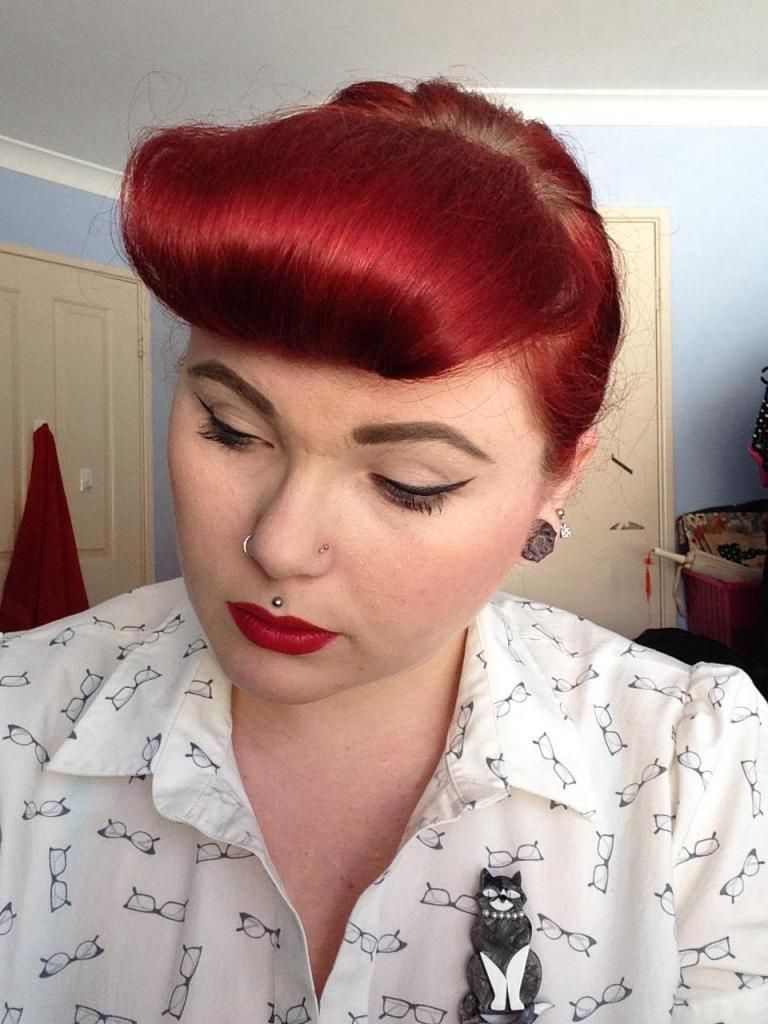
Bumper bangs! A hair style I do so often because it really is rather simple and looks super cute!
I will point out before I start this, they are not perfect today, my hair just didn't want to go along all to well but I did my best :D
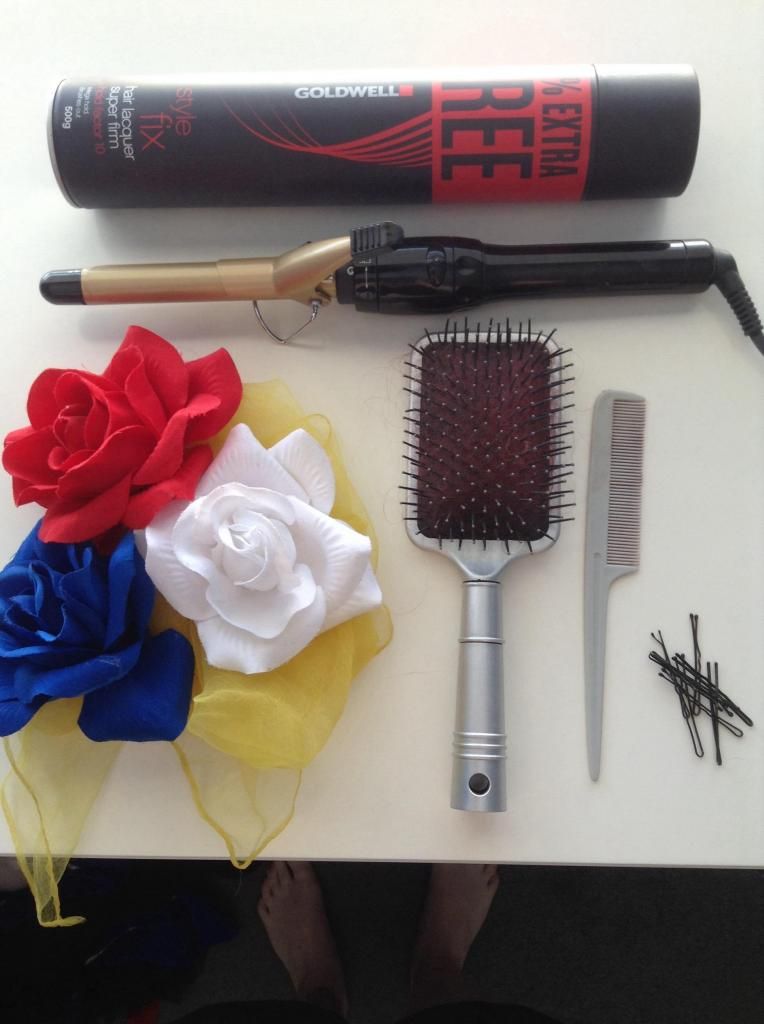
You will need:
Hairspray
Curlers
Brush
Comb
Bobby Pins
hair accessories (Optional)
Hairband/clip (Not pictured)
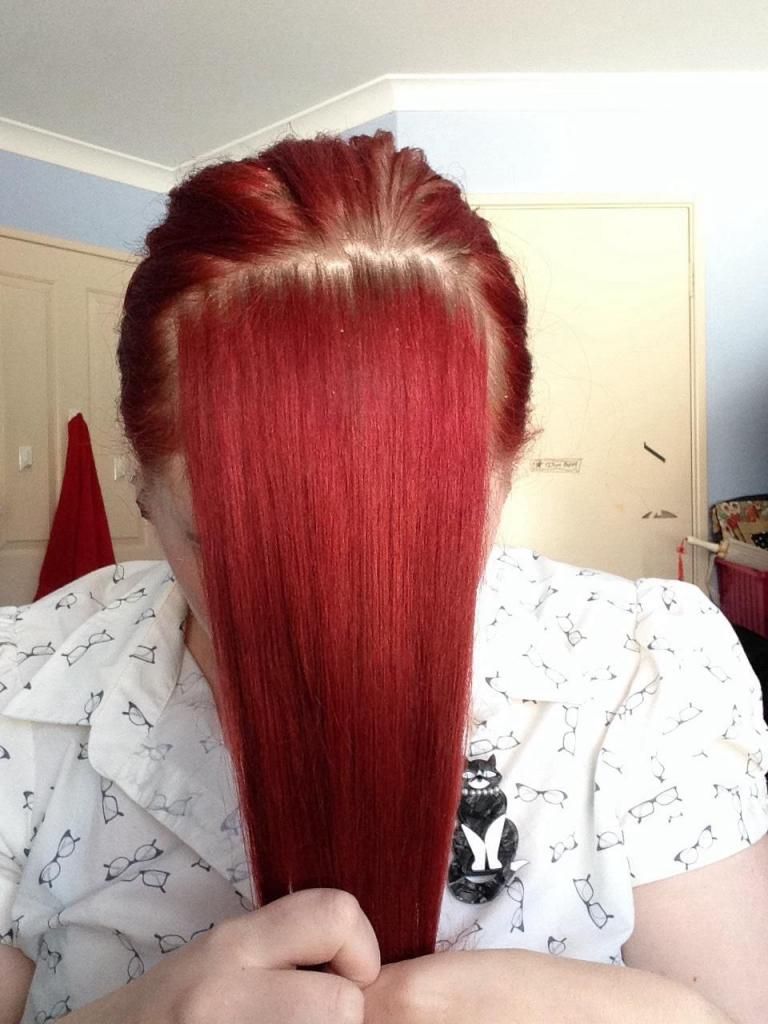
Brush your hair out to start with. Now make a section at the front (pictured) and clip or tie the rest back out of the way.
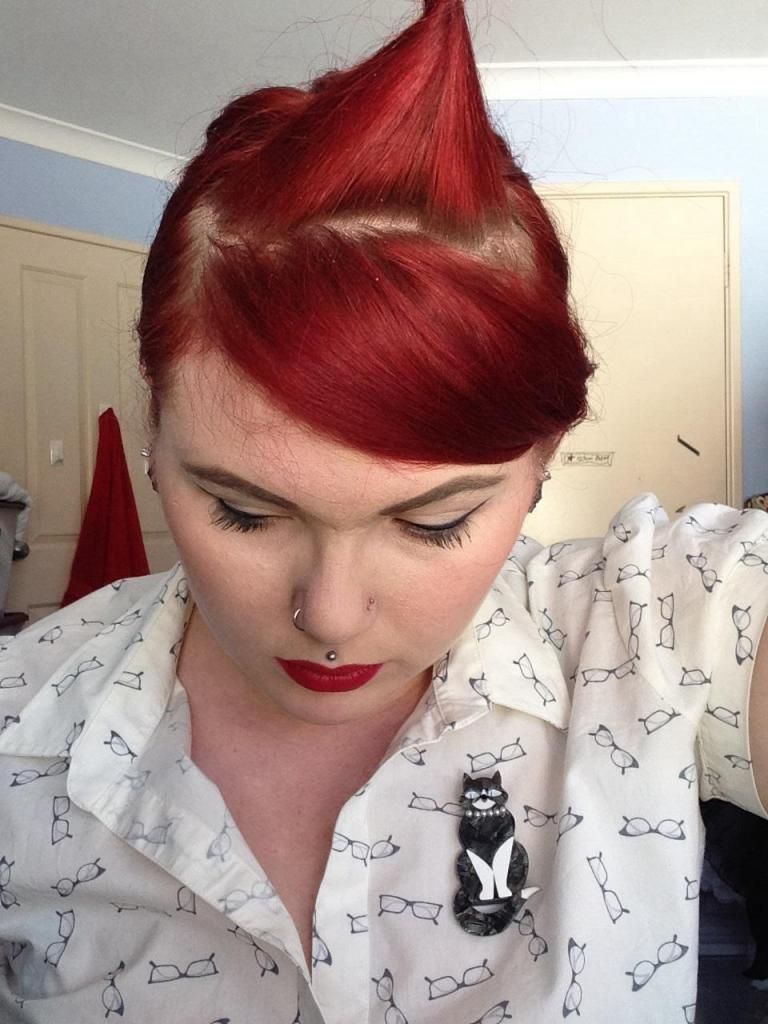
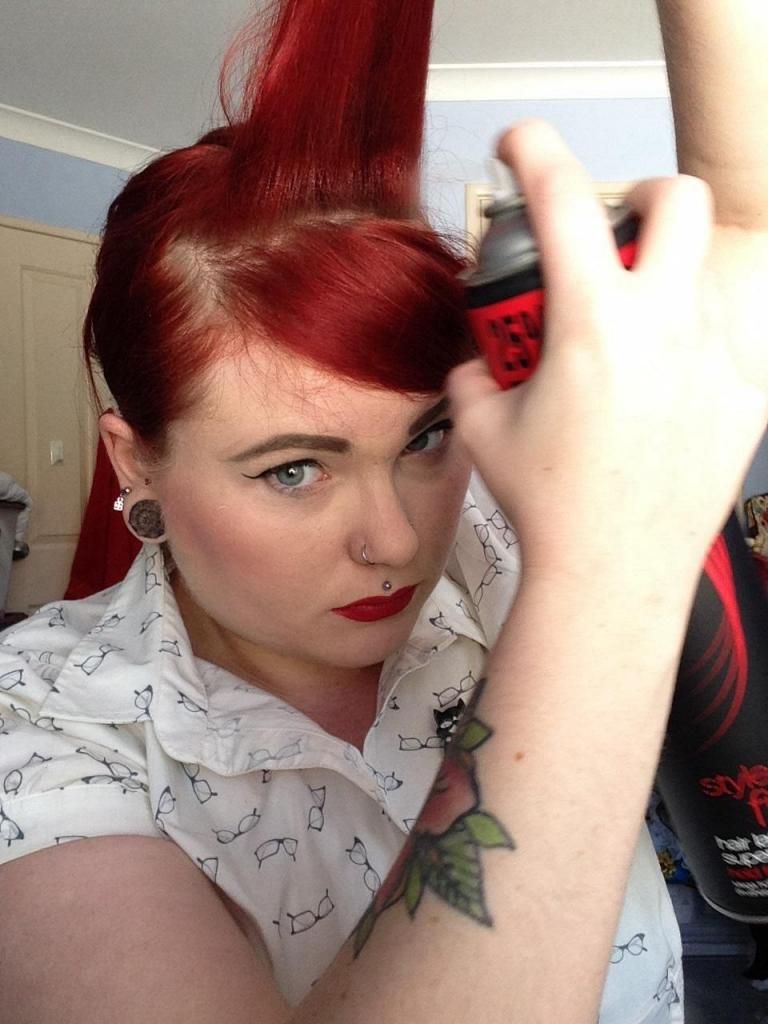
Next part the hair in half again and pull the bottom section to the side. With the top section, hairspray at the roots and tease.
Should be standing like so :)
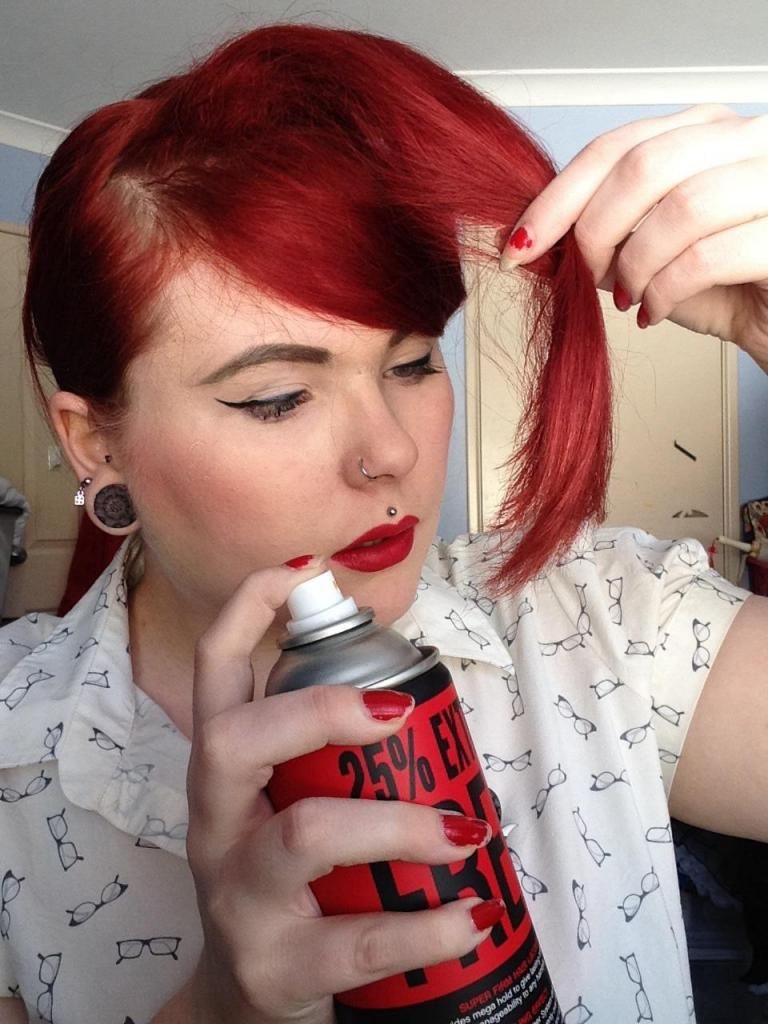
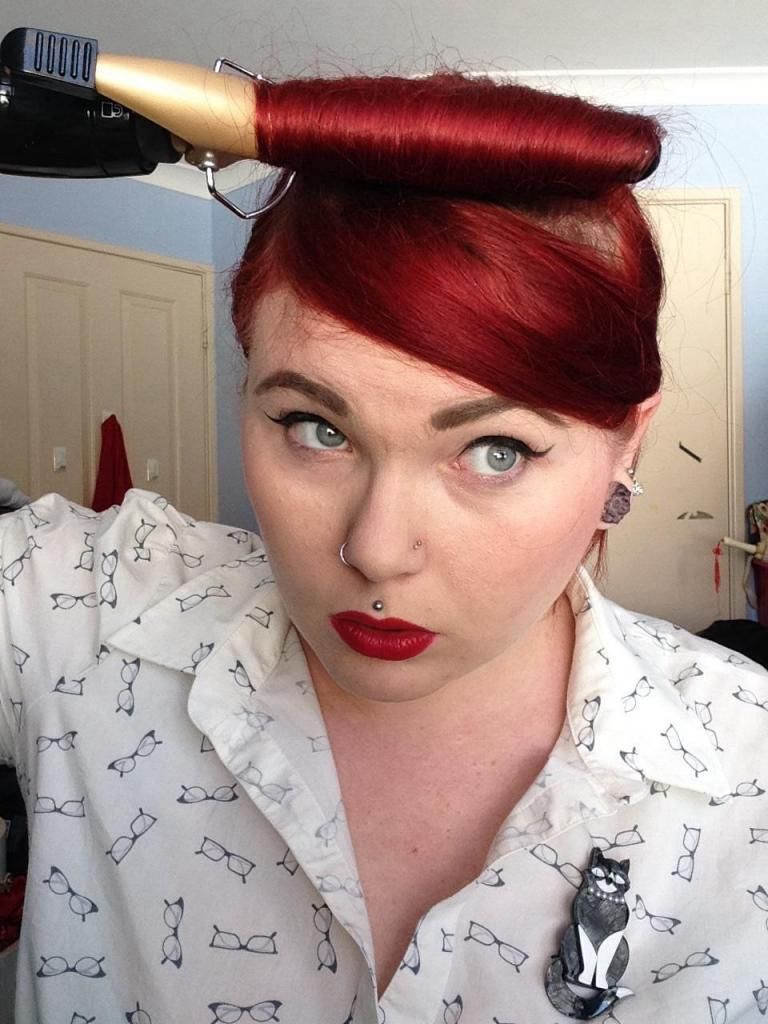
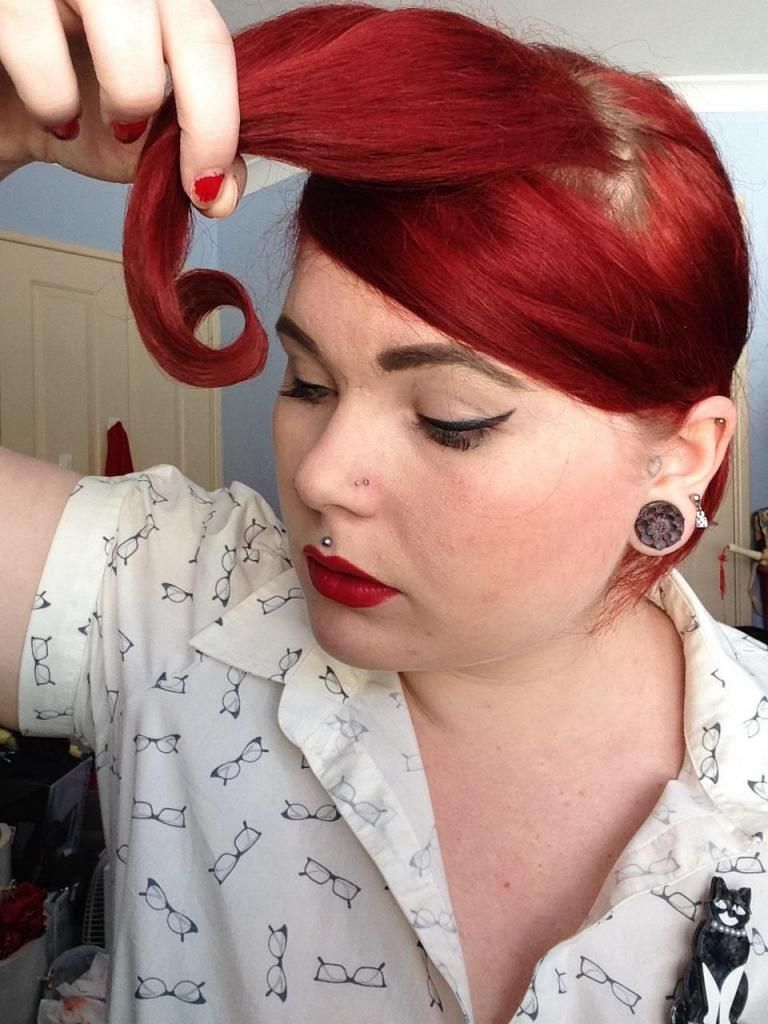
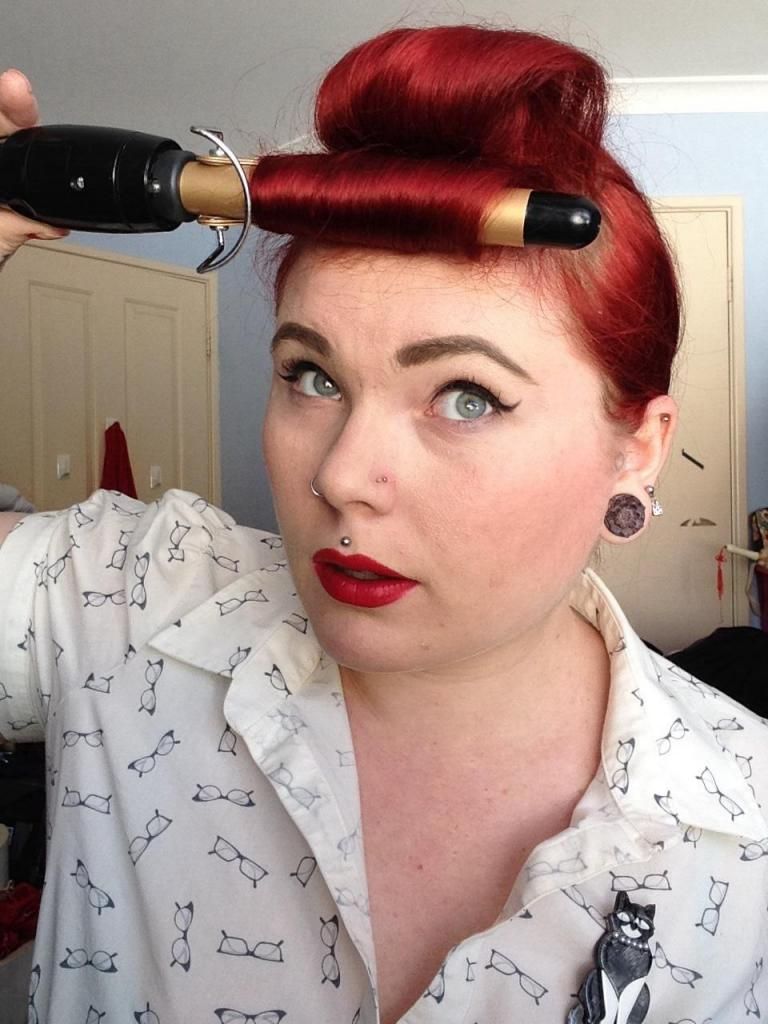
With the same section, lightly spray the ends (this will help in the next few steps). Now curl under like pictured. You don't need to have the curlers on for too long. Around 10 seconds is fine.
Keep in mind, the hairspray and heat can damage your hair, I only do this because I have very dry hair any ways and the effects don't bother me too much.
The end of the curl will be stuck together if you used hairspray, this helps to curl it up neatly. Pin this into place to cool down. It does not have to be neat.
Repeat these steps with the bottom section and allow to cool.
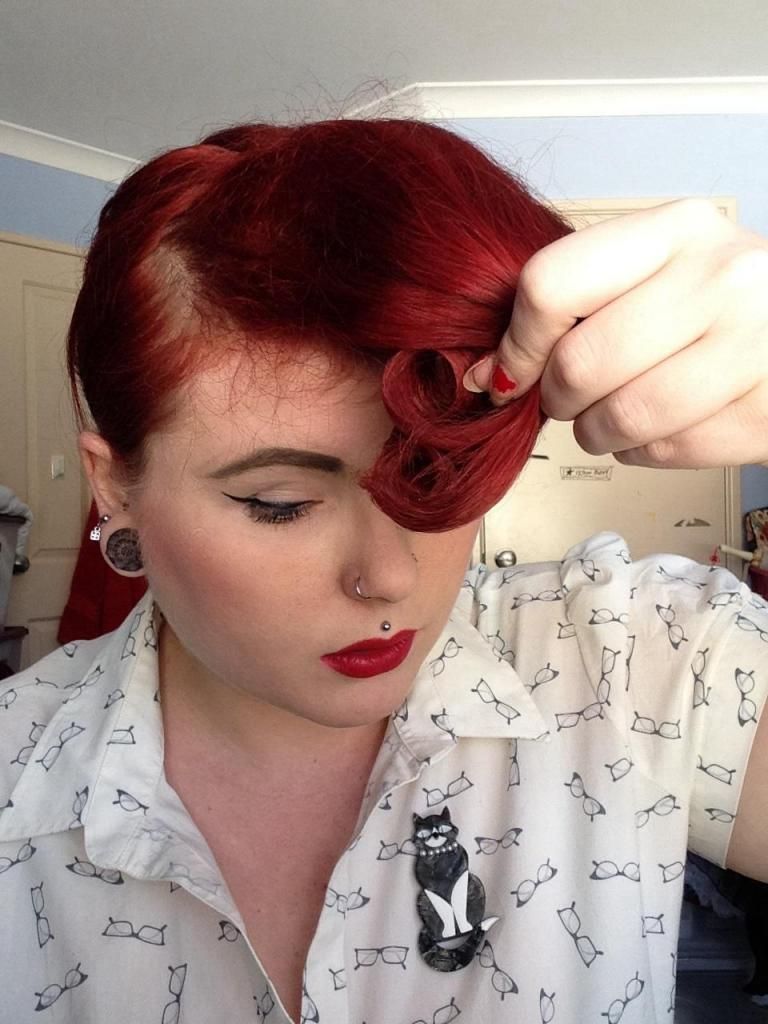
Once you pull both pins out you will have two nice and neat curls (picture 1) now carefully pull them together into one. To do this just unwind them and then let them re roll together.
If at this point the hair is too high, like mine was. I just ran my brush over the top of the fringe but not the ends. Just to help smooth it out.
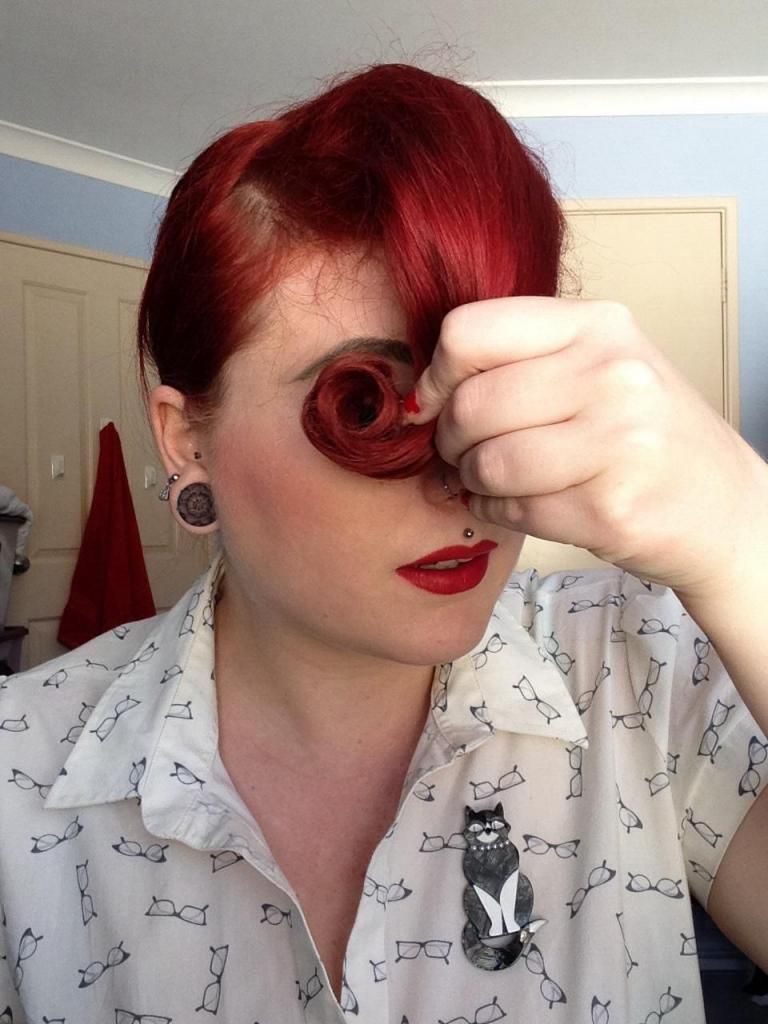
I make my roll around the same thickness as two fingers. I also try to keep my fingers in the roll to help me roll it upwards neatly. Keep trying until you are happy :)
Place a bobby pin on either side to hold.
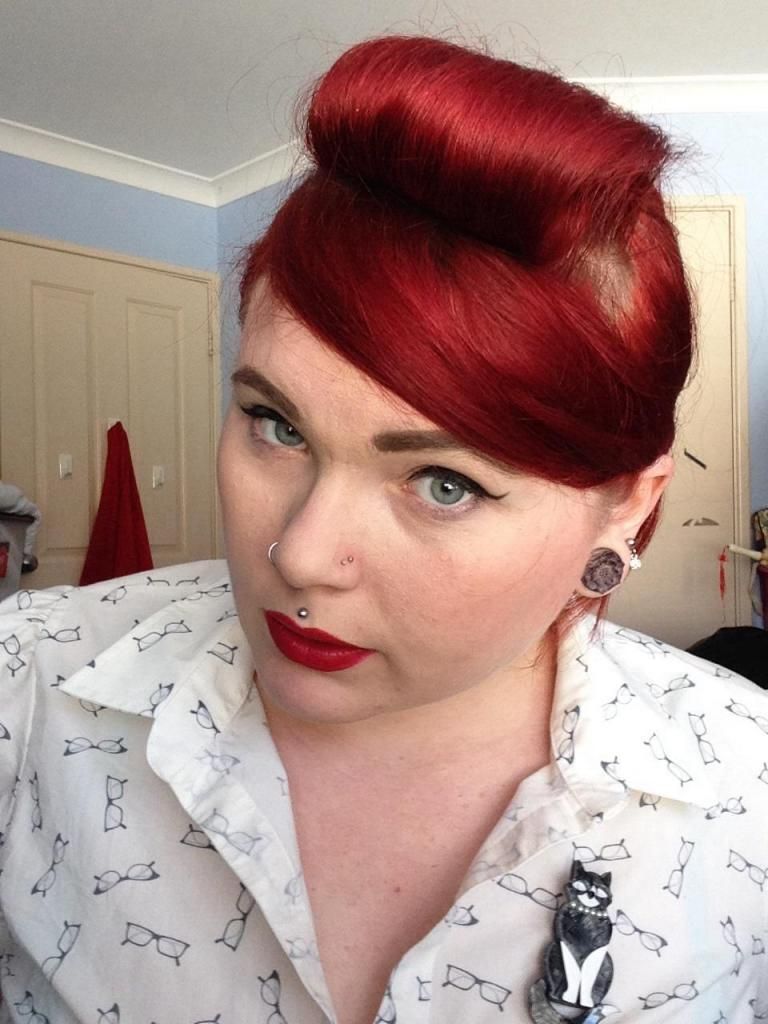
You should have something similar to picture 1 here :) Don't worry if its not too neat, we will be fixing this all up.
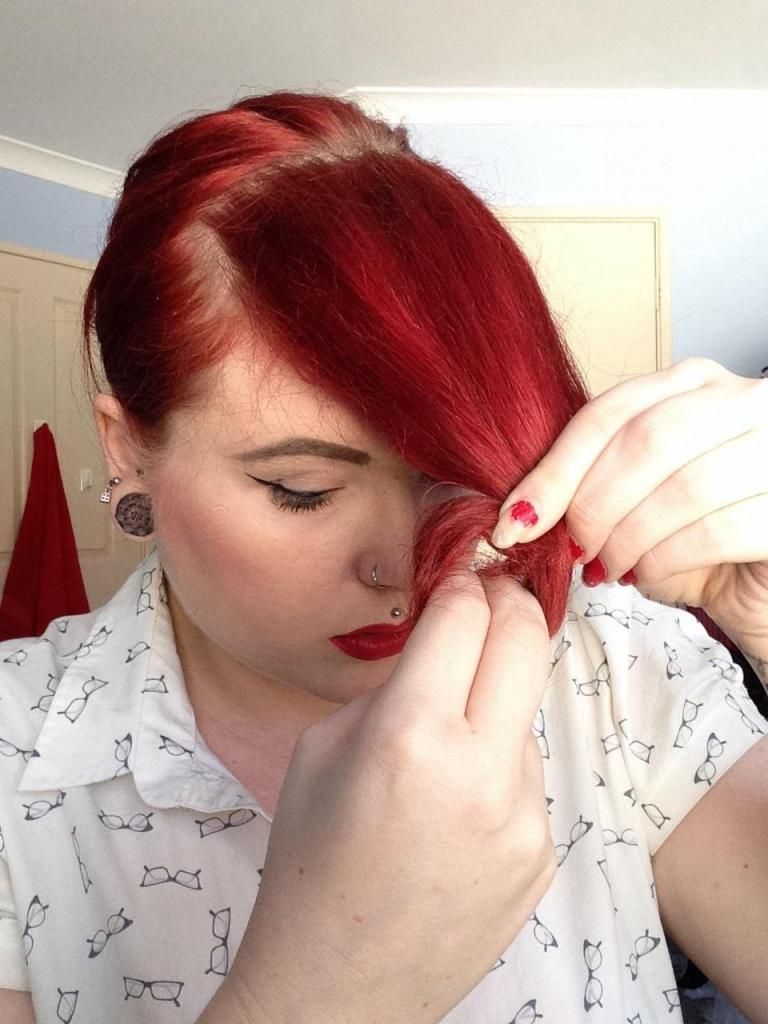
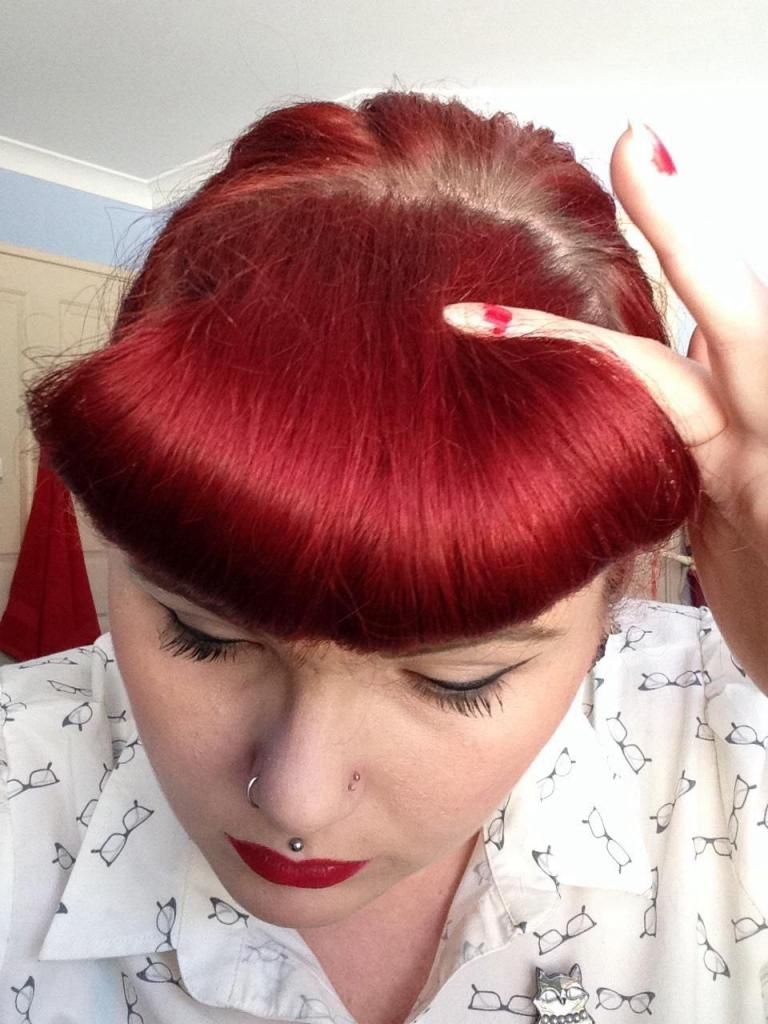
You will notice that the top of the hair is a lot wider compared to the inside of the curl. Just stretch this out very lightly, making sure the pins are still in place. If the pins start to fall, just add more.
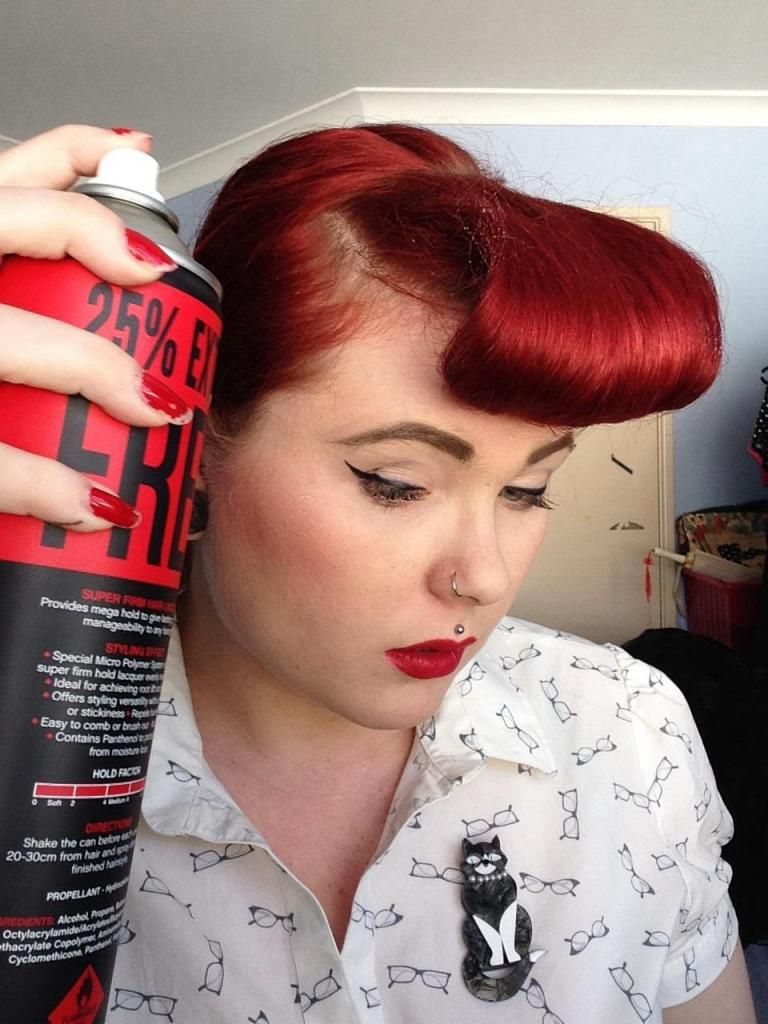
Tuck any stray hairs in and give it a very light hairspray on both ends.
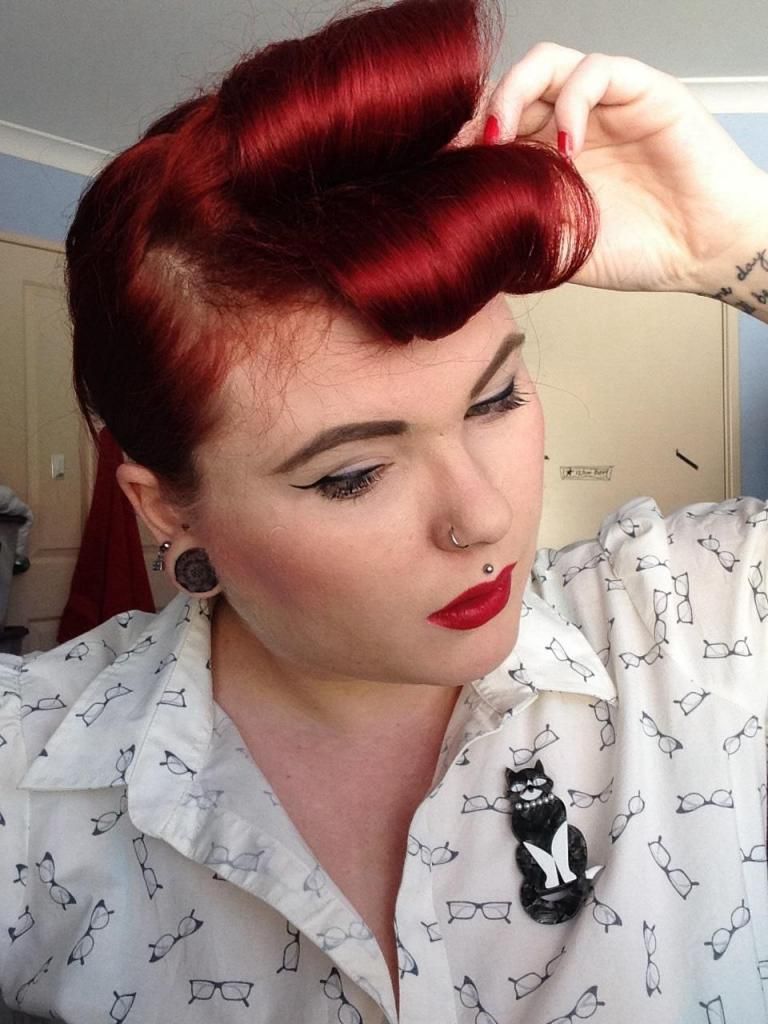
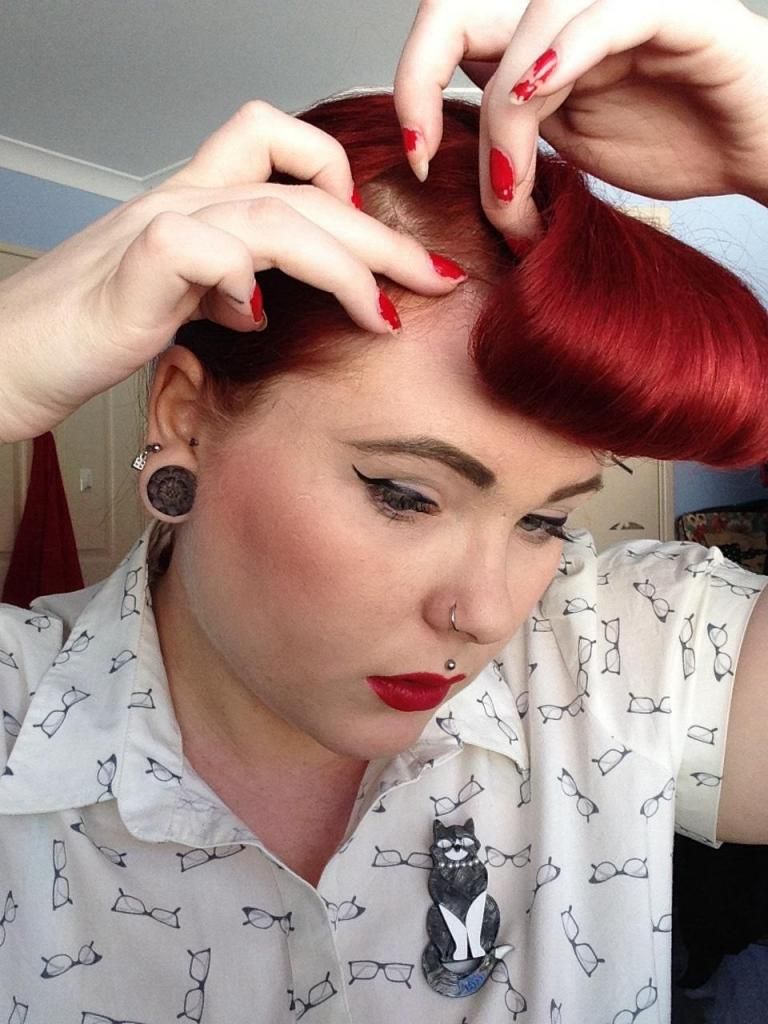
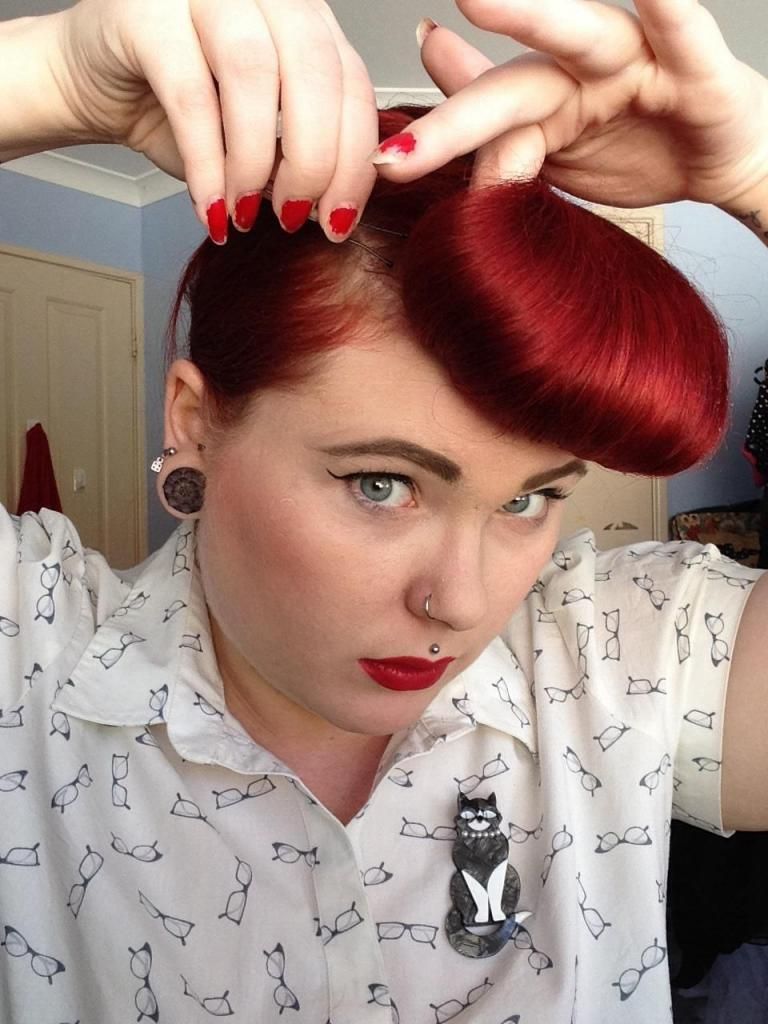
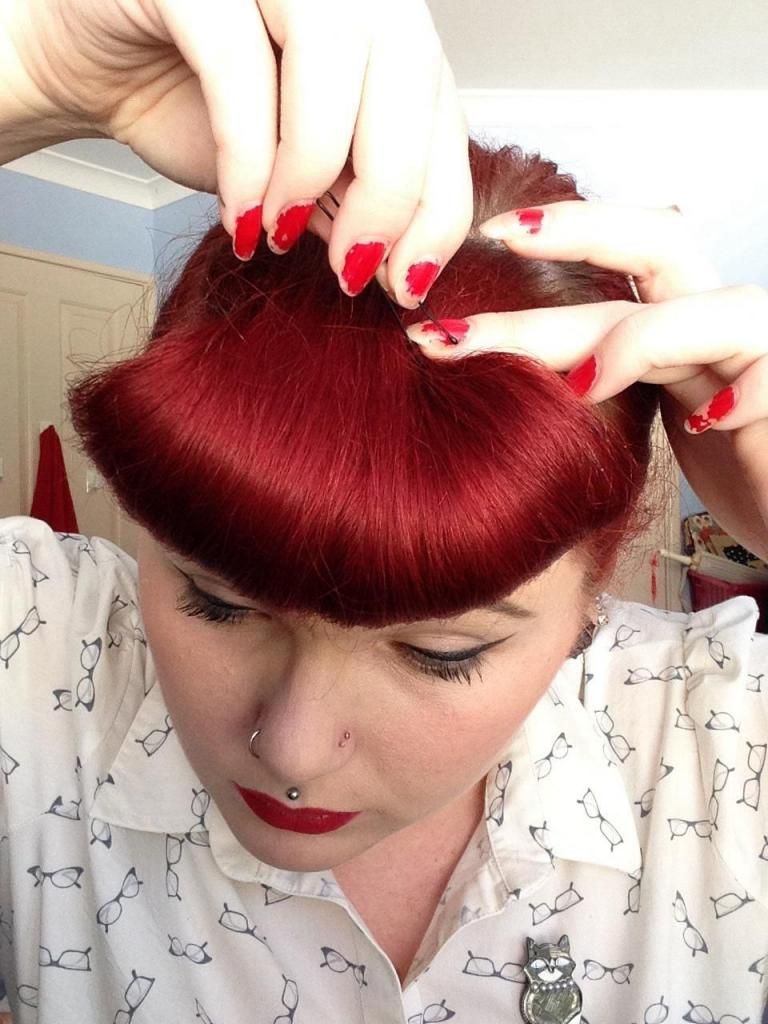
Very gently pull the inside of the hair up like pictured and pin into place. This is how we will get the rounded shape.
Repeat on the opposite size. Here you can fix up and push any strays in like we did before.
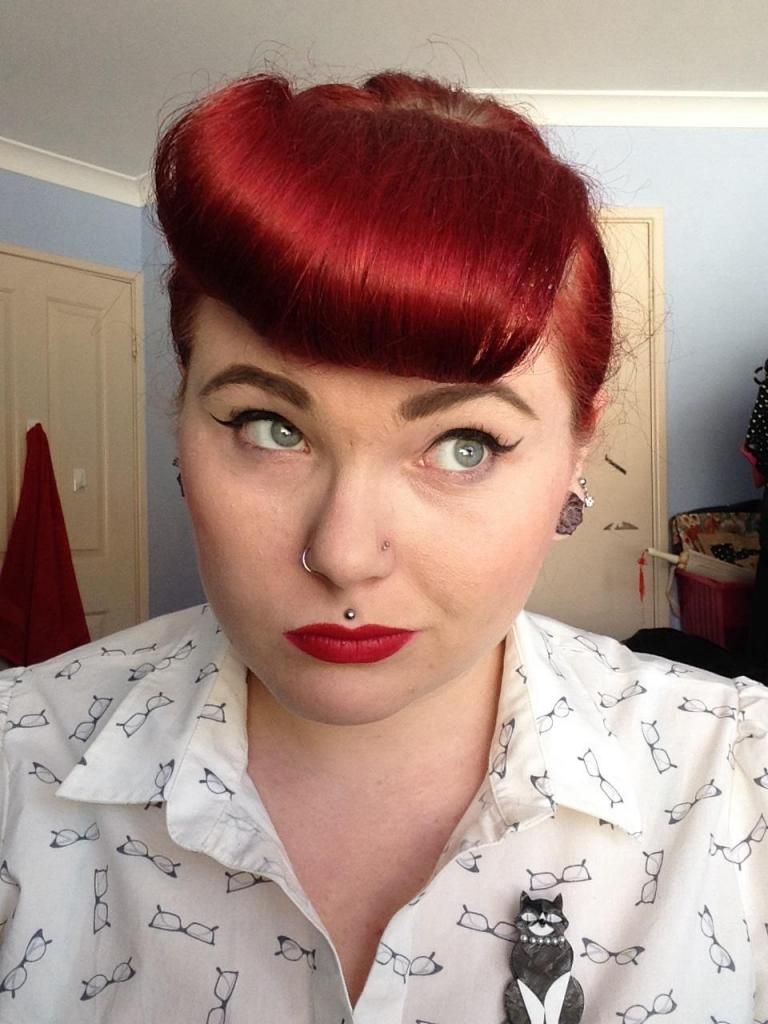
Some days I leave it like this as I feel I did a good job, sometimes I go further.
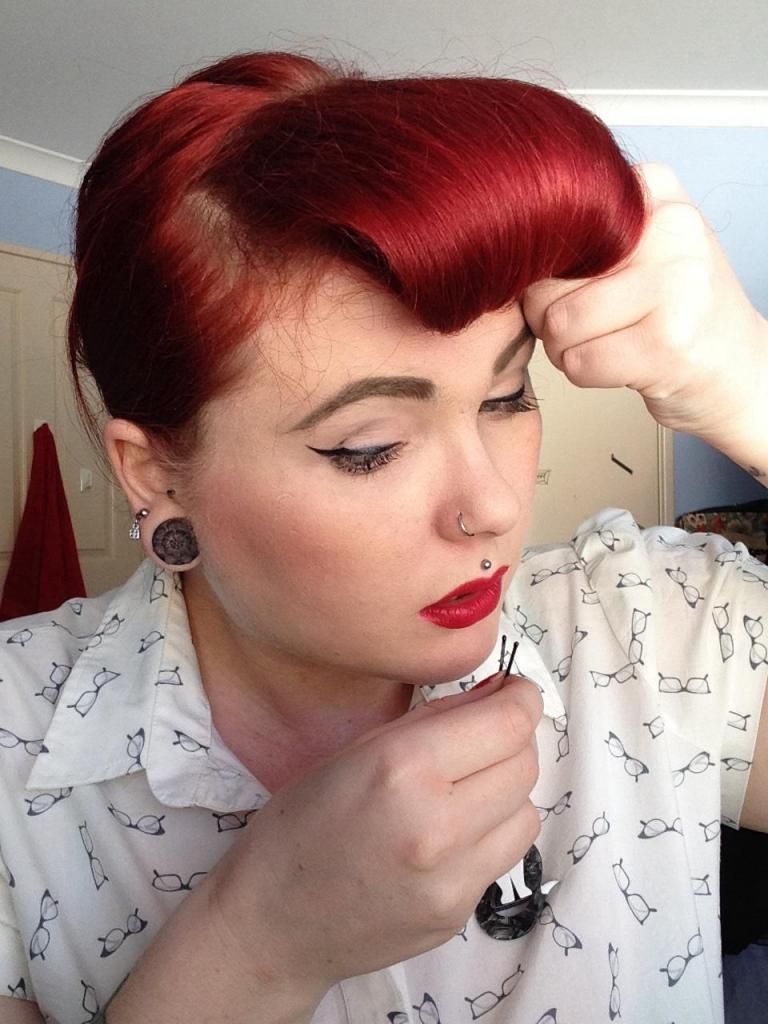
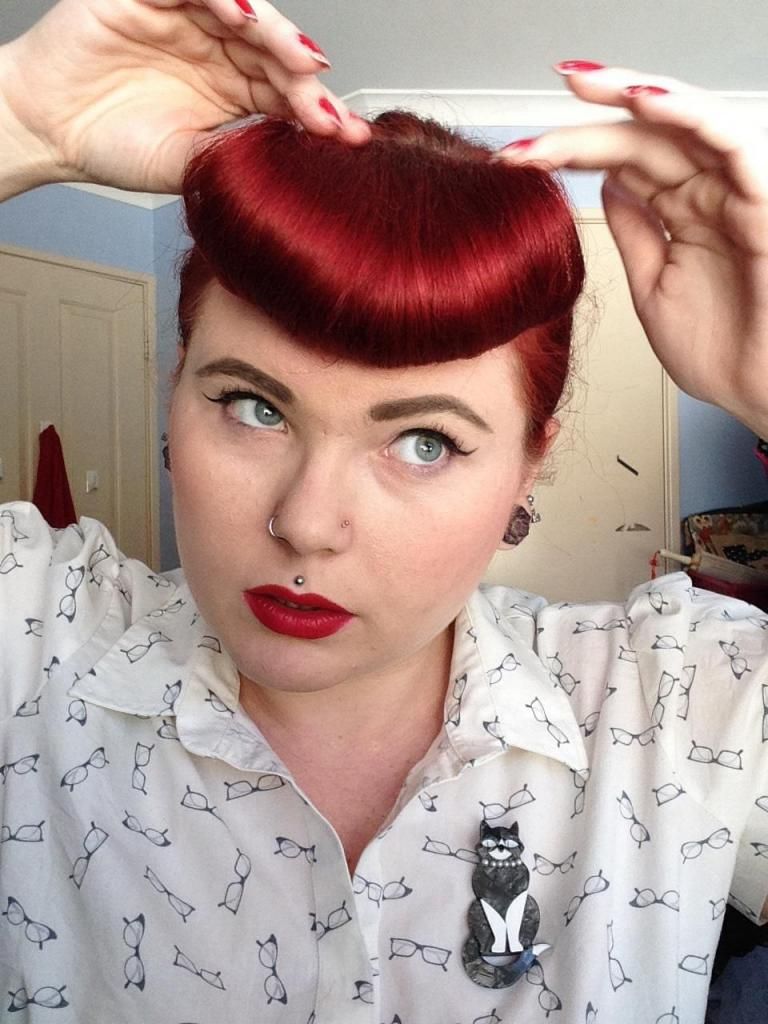
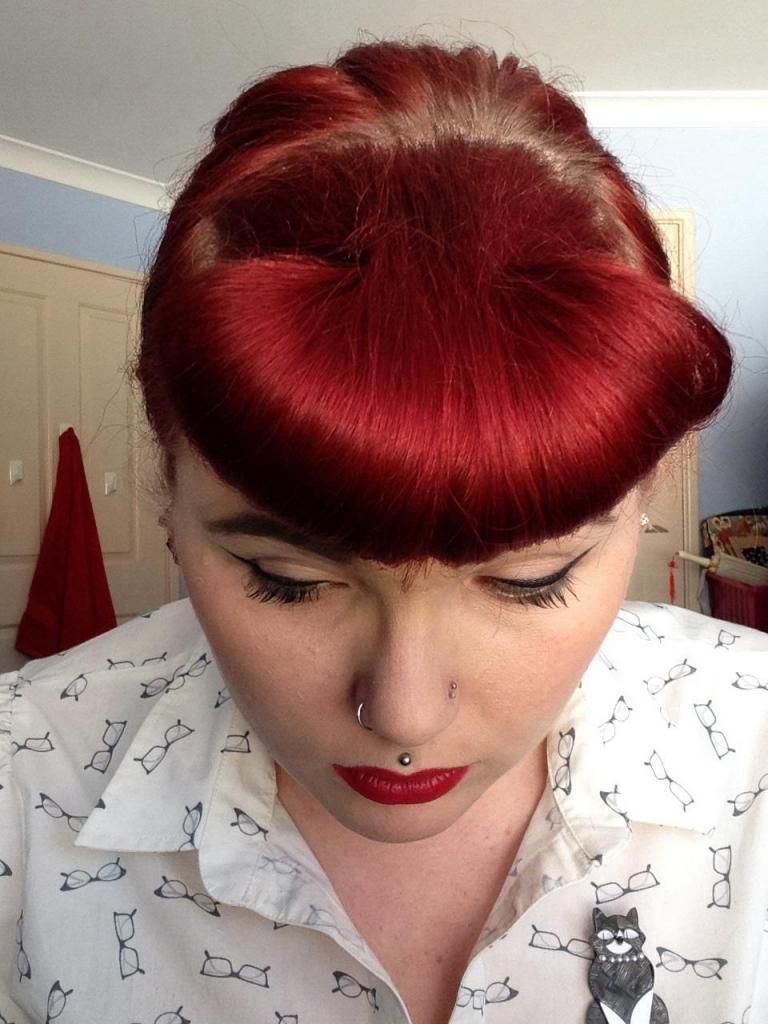
If you want a more rounder shape, just push in like pictured and pop in a pin. Repeat on both sides.
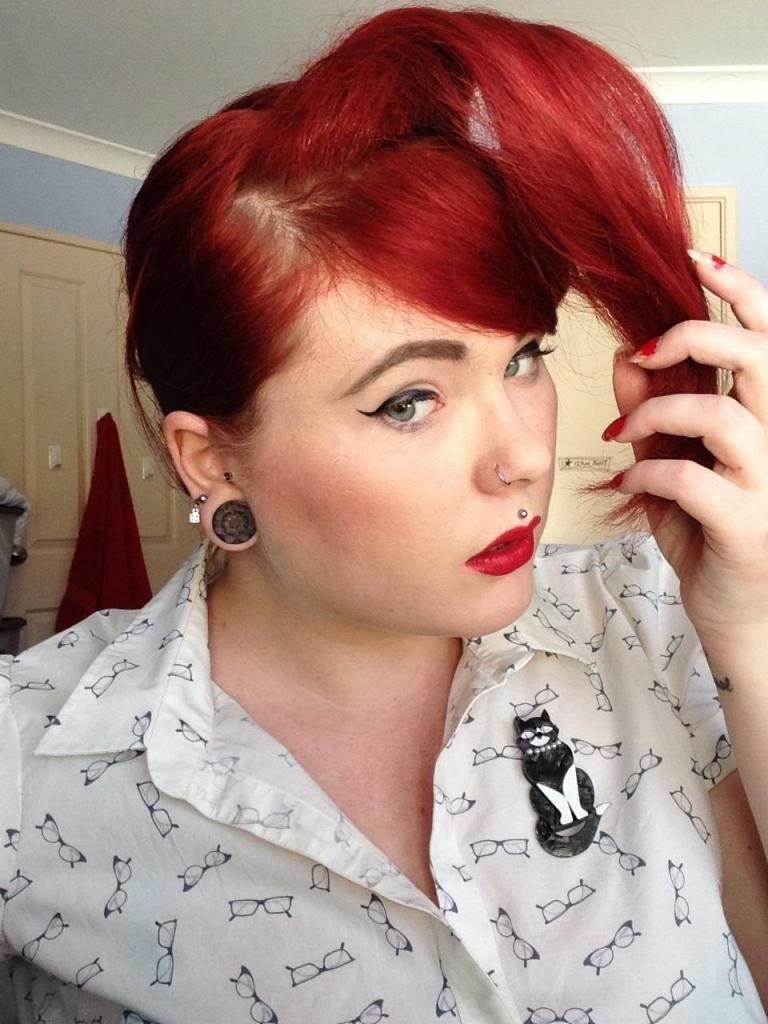
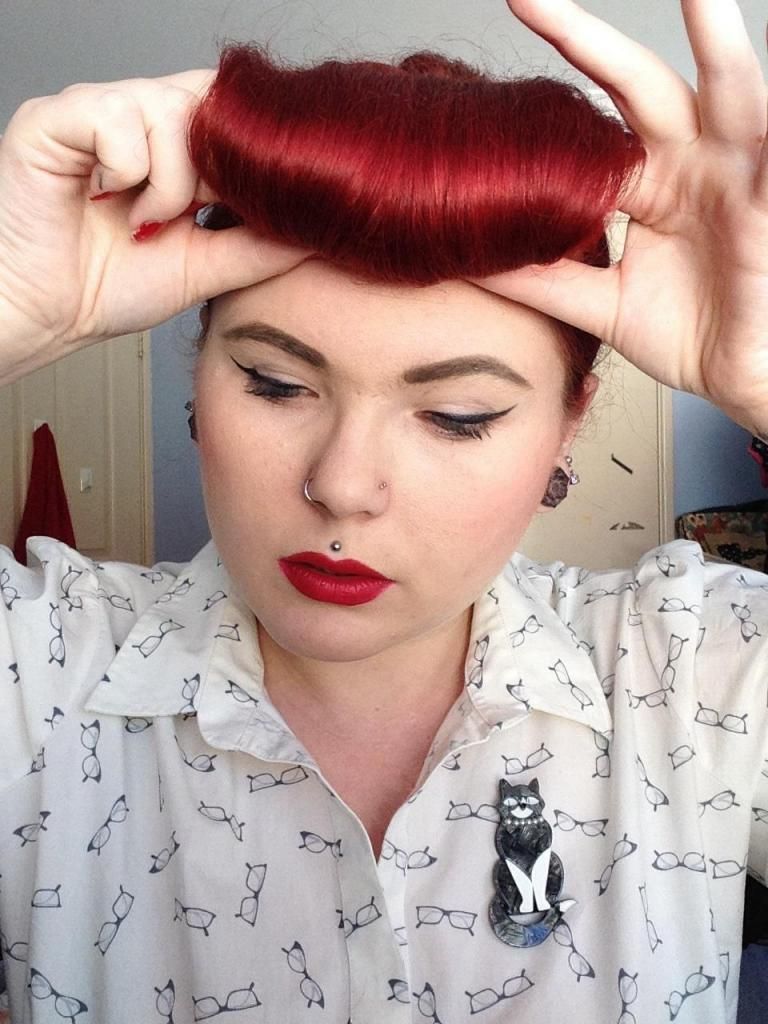
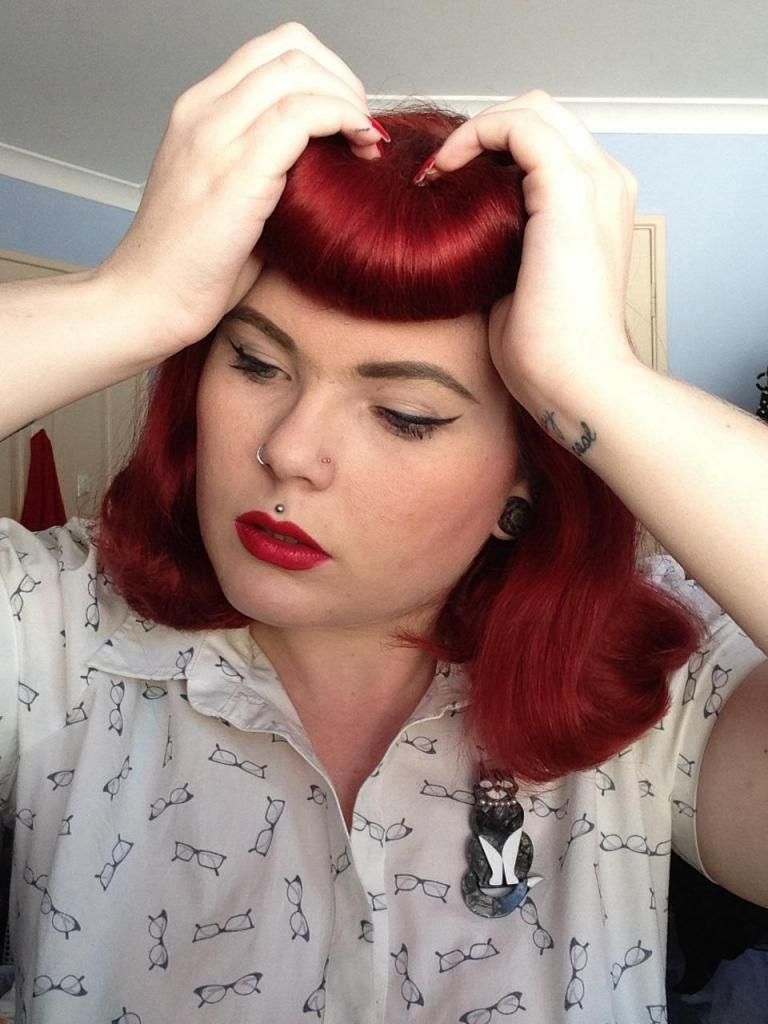
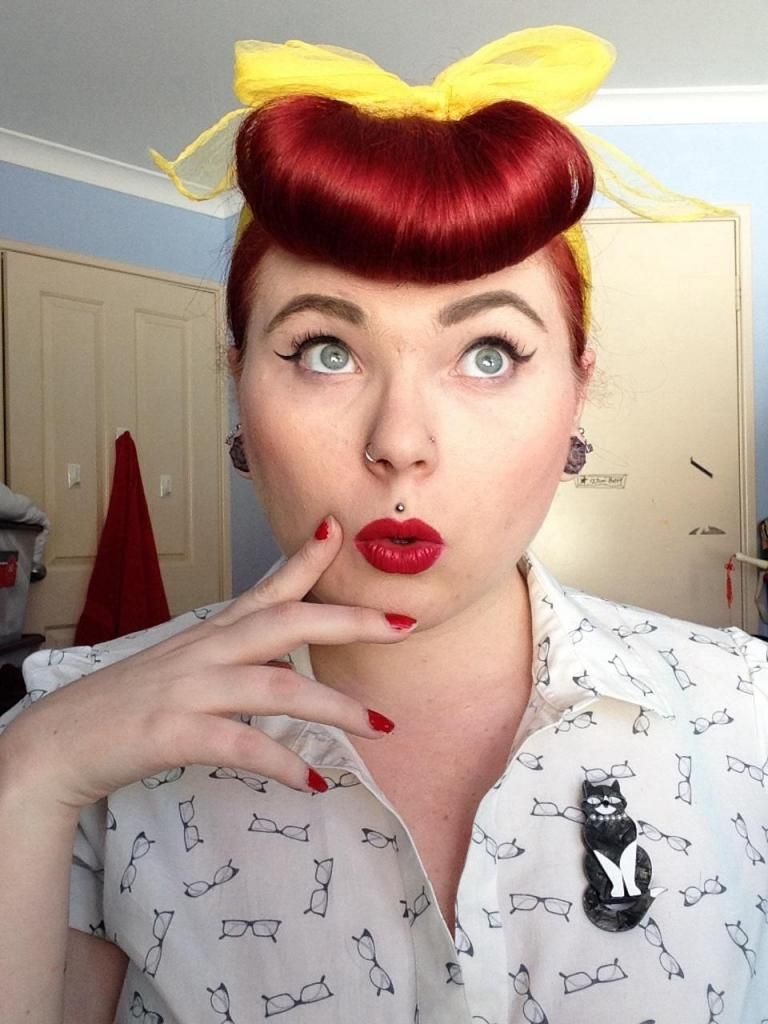
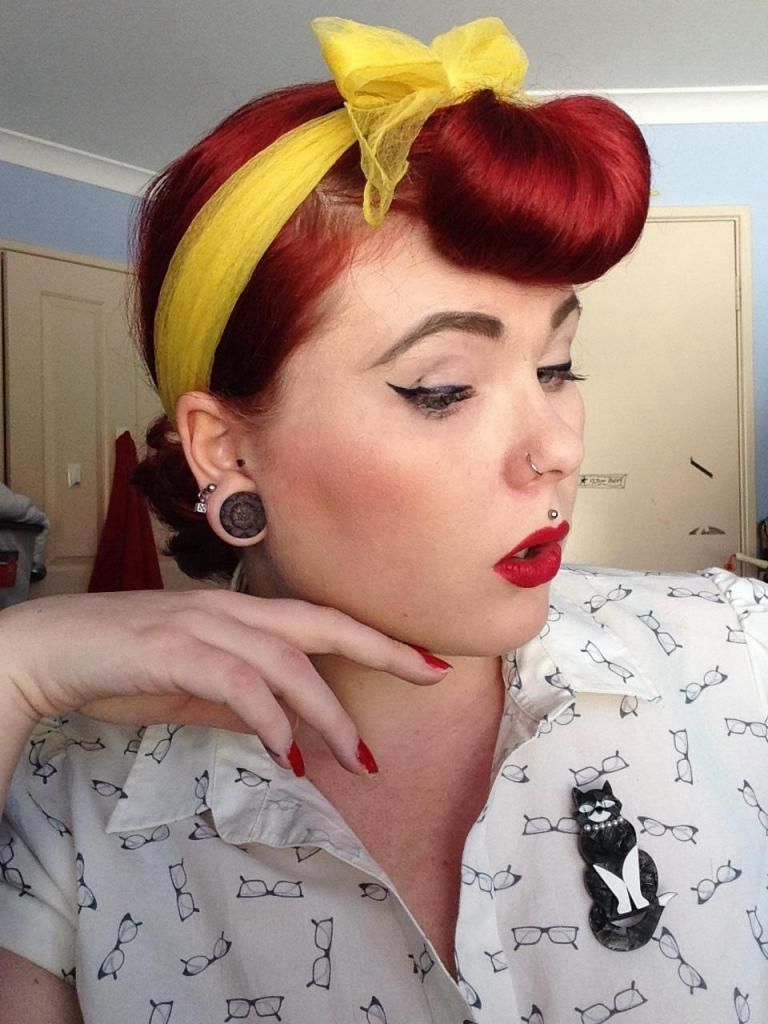
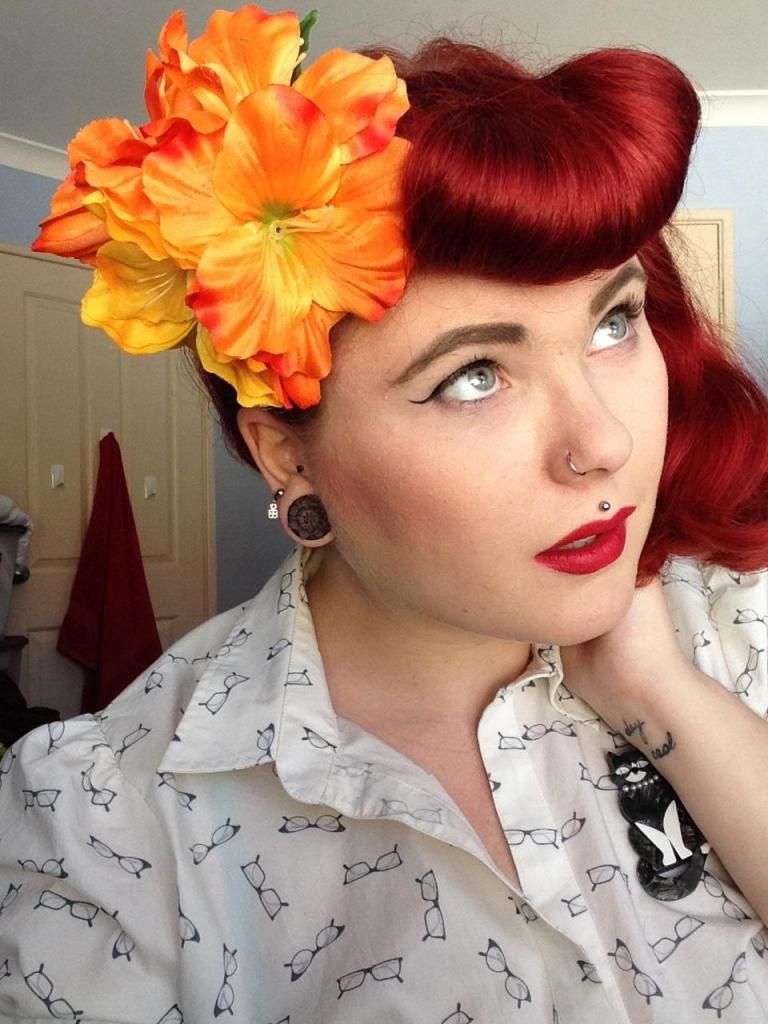
You should end up with something like pictured. I know mine is not perfect today, my hair hated me. Using cupped hands just push and mold into shape.
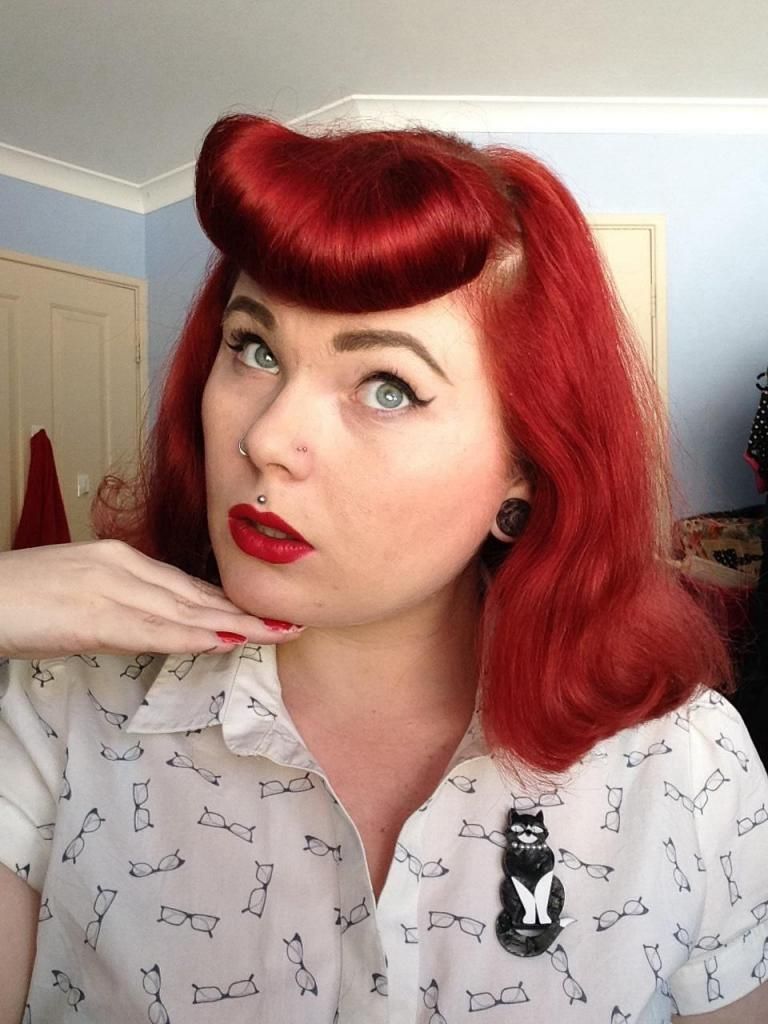
We are almost done! Time for accessories :)
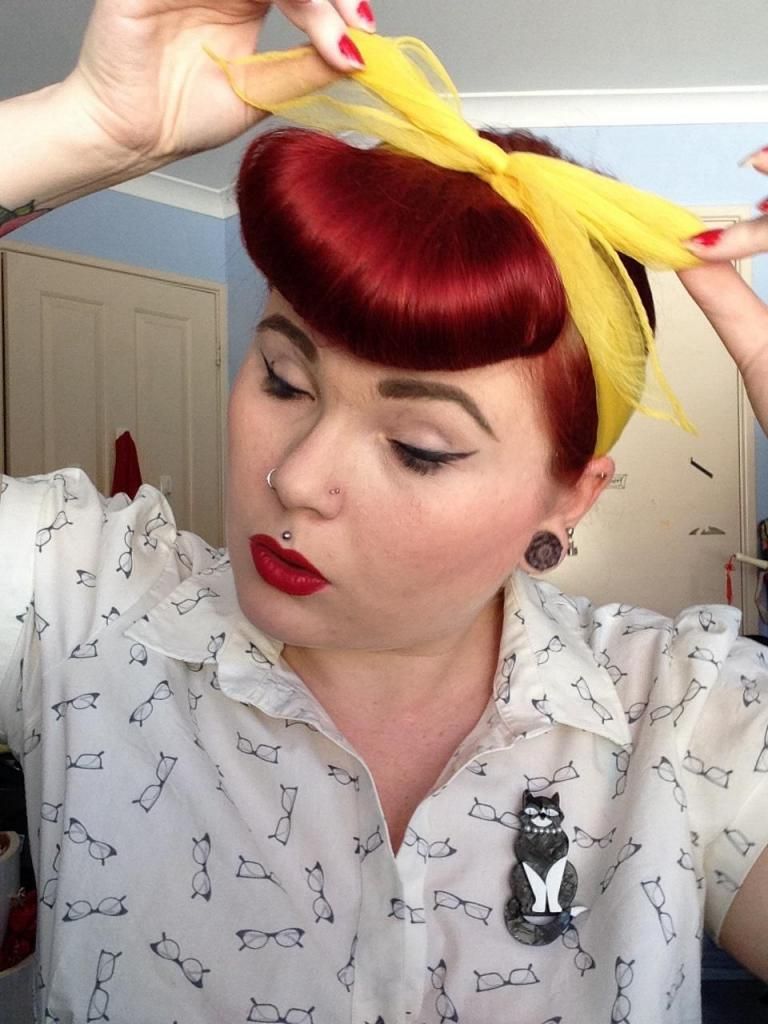
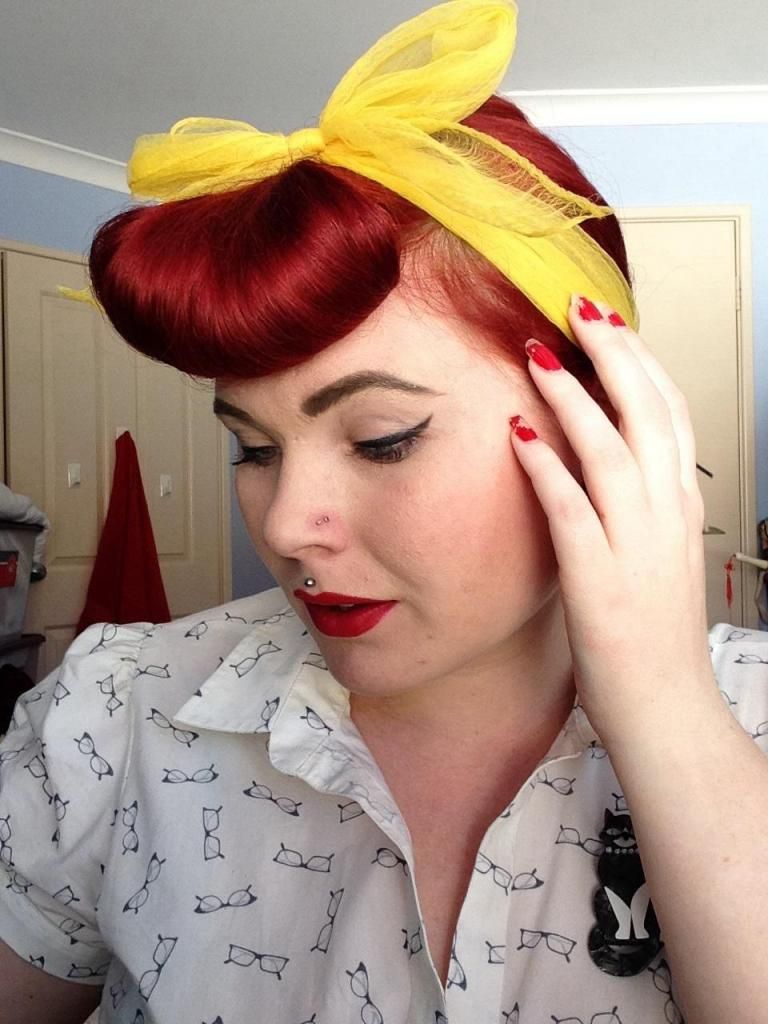
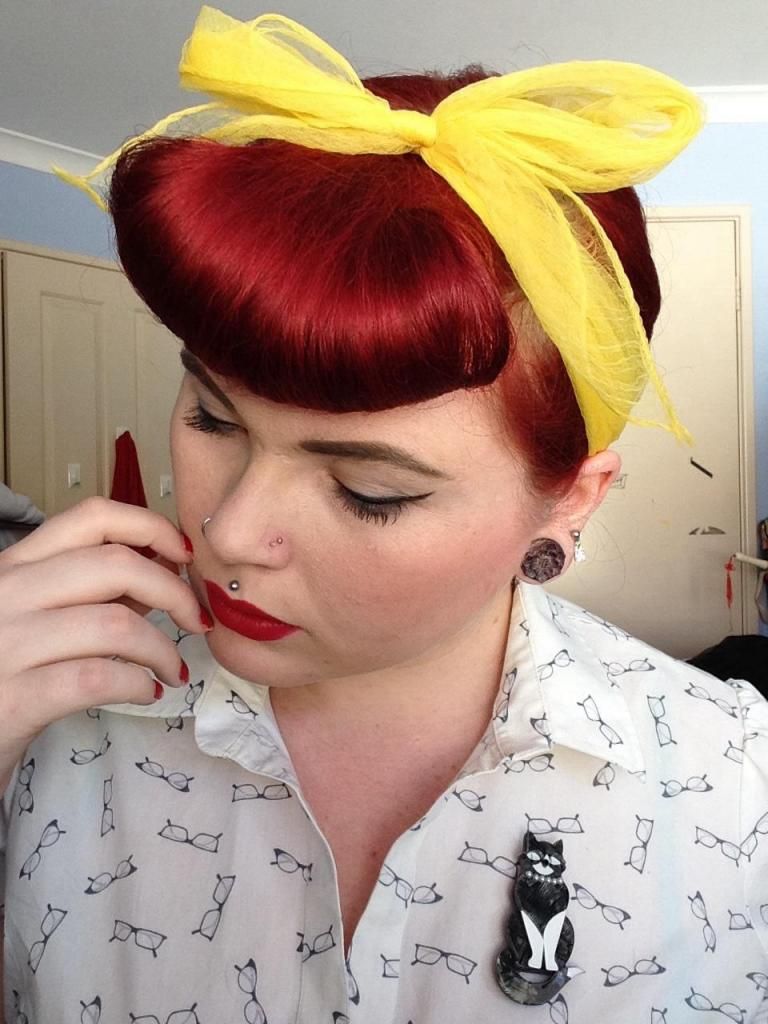
You can use a simple hair scarf for cuteness.
or a pretty flower on the side :)
This technique is not for everyone, I will be showing you in the coming weeks how to create almost the same look using a foam roller.
My thick hair does help me a little in doing this hairstyle.
I am very aware of how I may do things can damage my hair.
I hope this helped you out :)
Erstwilder Cat brooch.
What tutorial do you want to see next?

This is great- I always have a lot of trouble getting my bangs rounded properly but that little push is perfect. Thank you :)
ReplyDeleteThis is a very helpful tutorial! I've always wanted to try this, but I love that your photos really broke down the steps. As verbal as I am, with something like this, I have to imitate pictures! I'm not sure whether or not this will work on me, since my actual bangs are so short, but I guess if it doesn't, it's an option for if I grow them out!
ReplyDeletexox Sammi
www.thesoubrettebrunette.blogspot.com