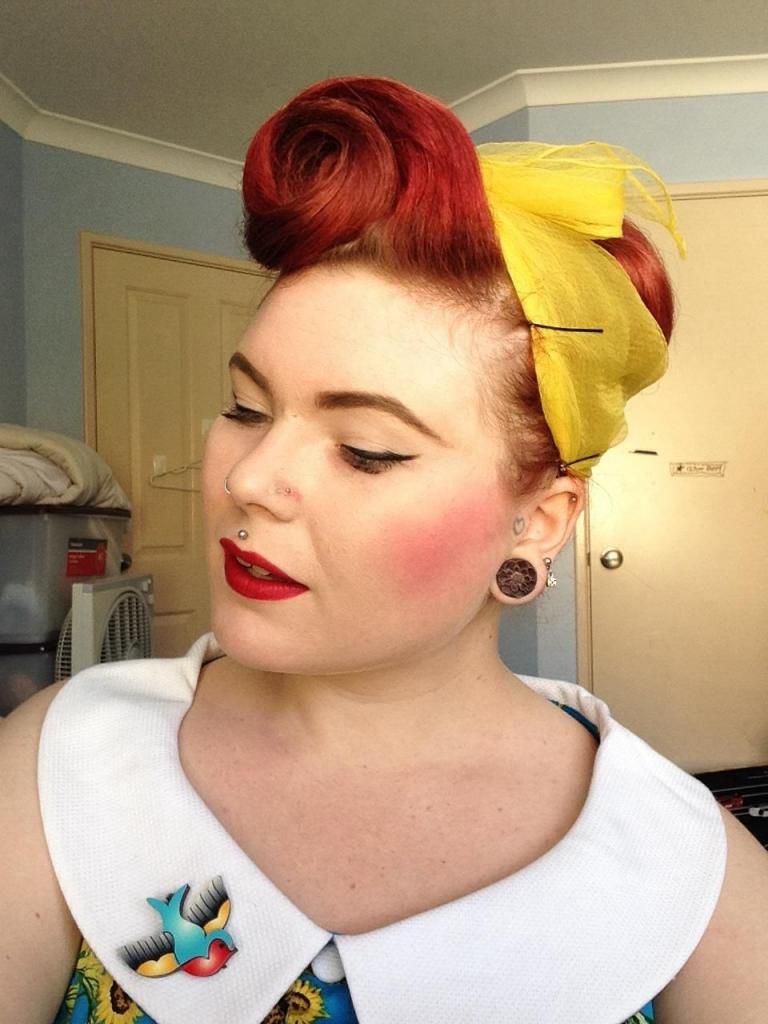
Vintage hair scarf. Erstwilder Brooch.
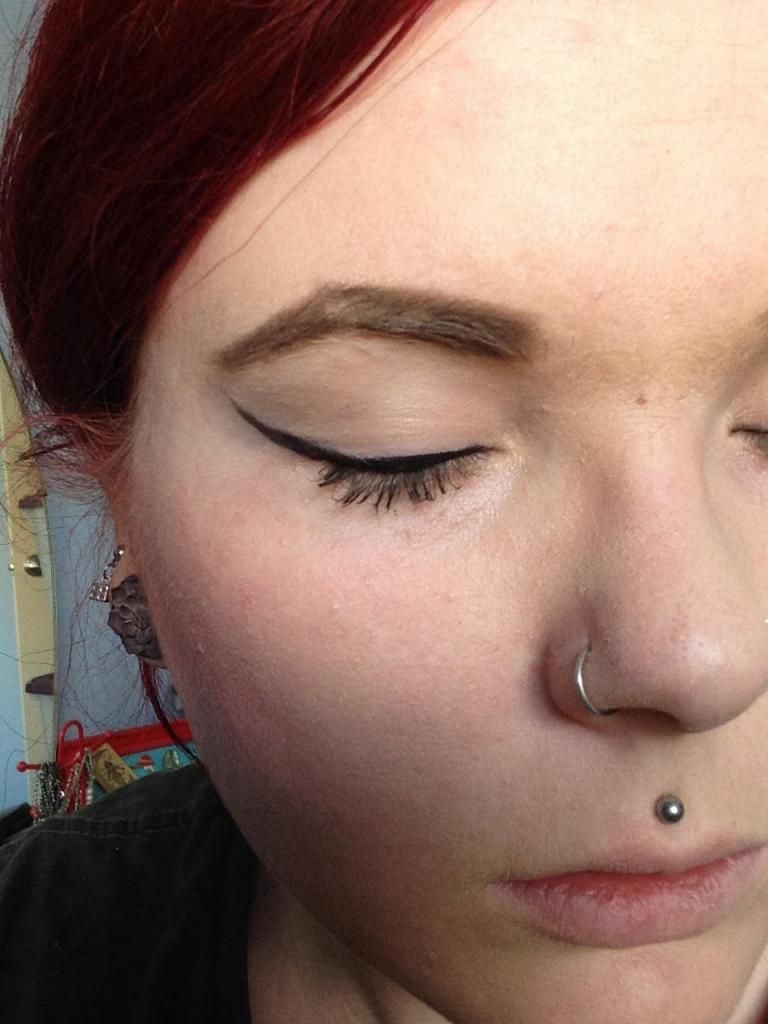
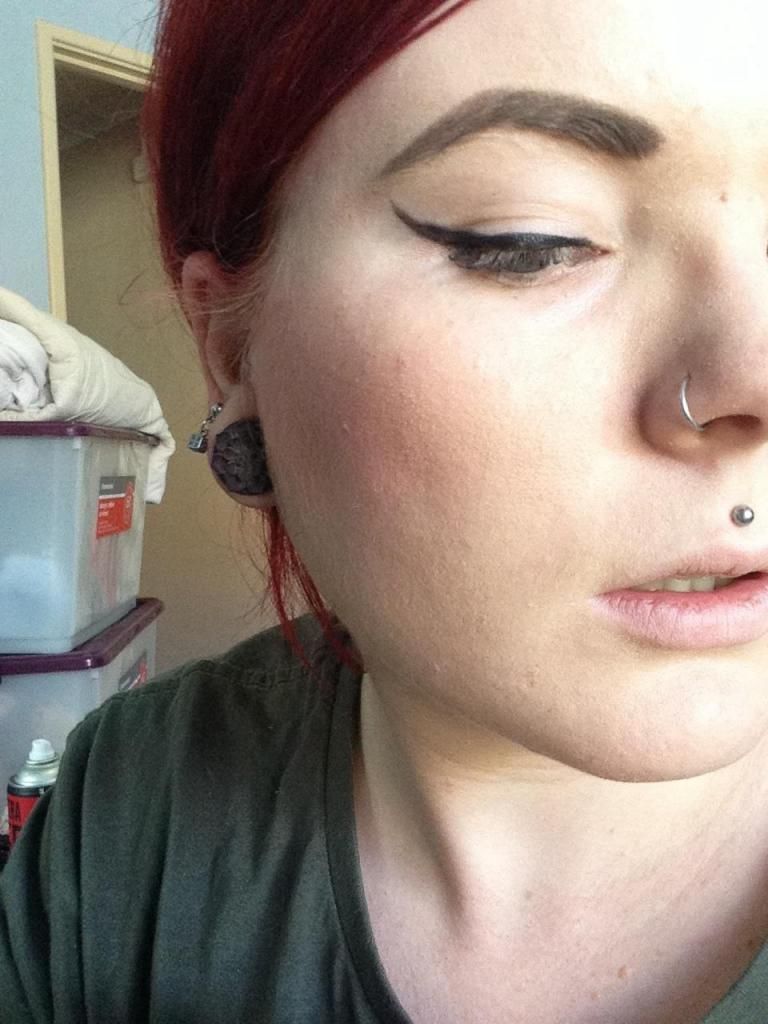
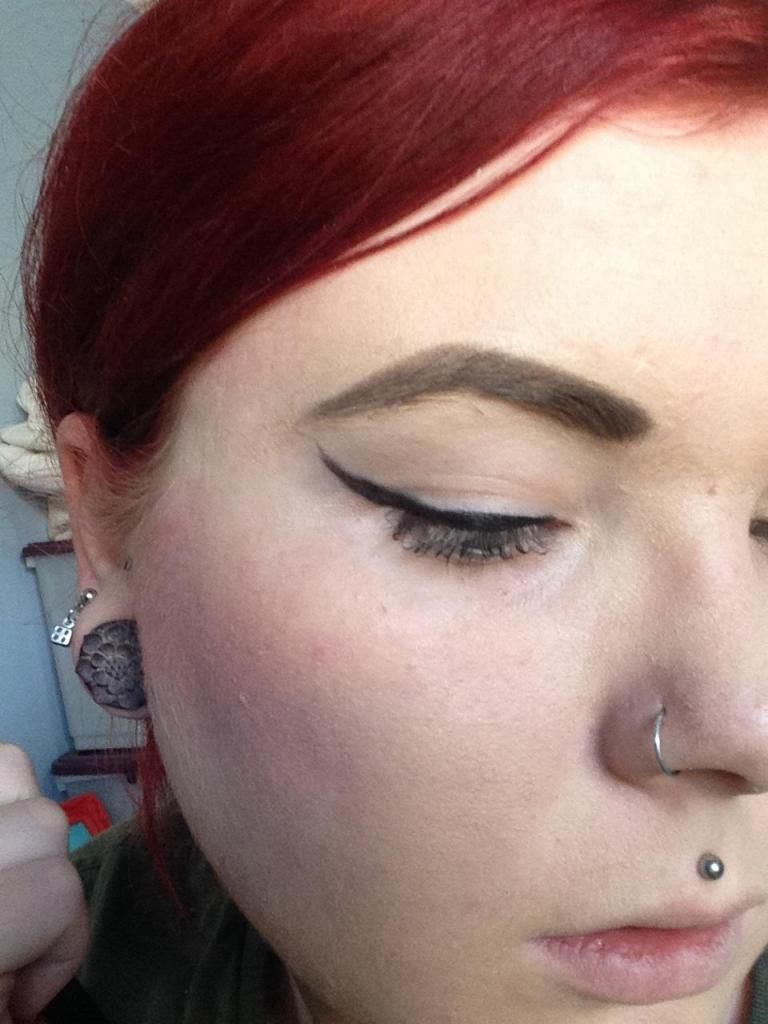
It was only recently that I became happy with my eyebrow technique so I thought I would share it with all of you. I have to point out that in no way am I a expert in putting make up on (doesn't help that I wear glasses and find it a little difficult) but I do try my best. I am open to hearing all your tips and tricks to and I'm sure others will be thankful :)
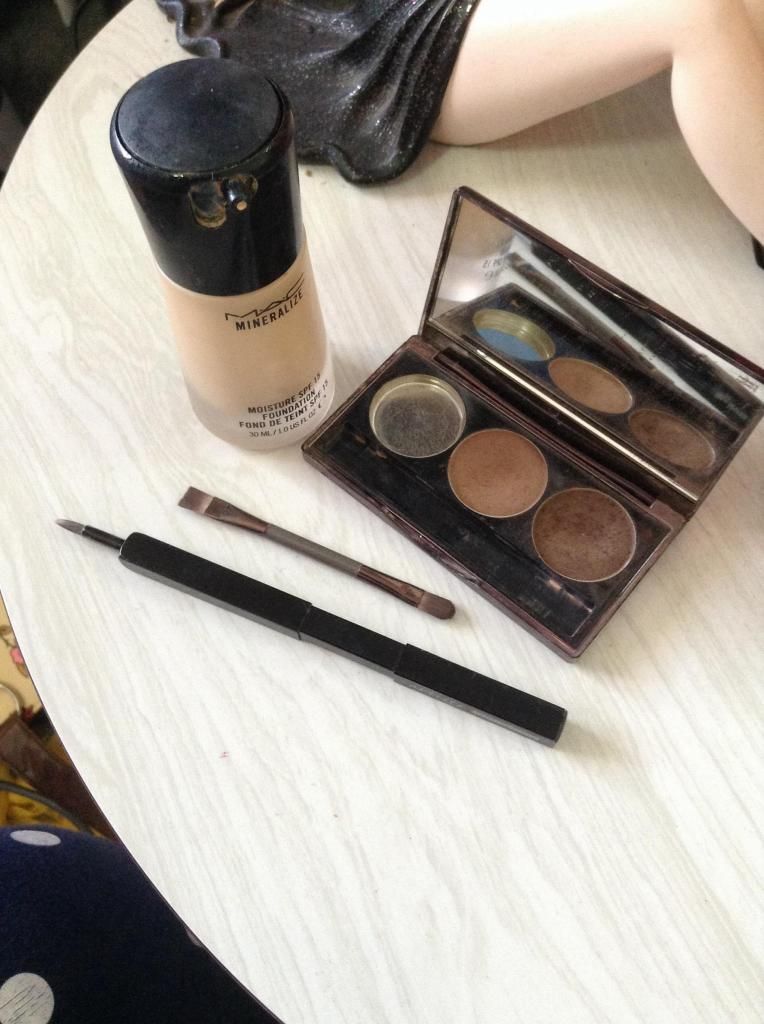

As you can see I have already put foundation and other make up on the rest of my face. I don't have very dark eyebrows but they do resemble the shape I want to achieve.
Products I use:
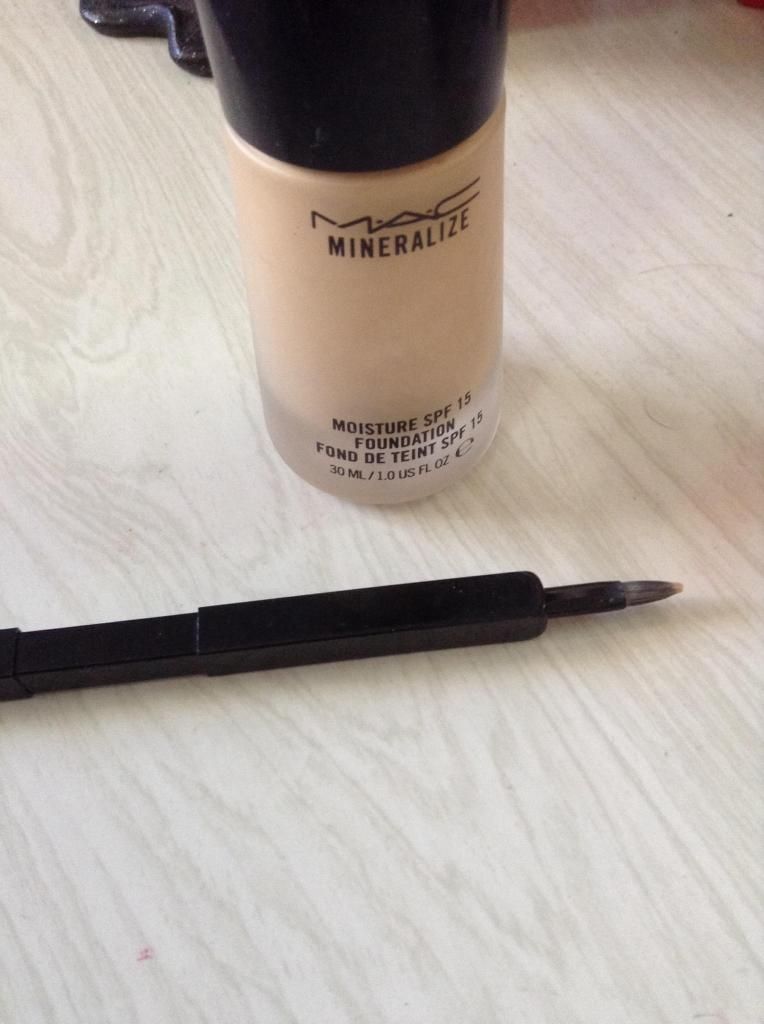
The foundation I am already wearing, in this case MAC foundation.
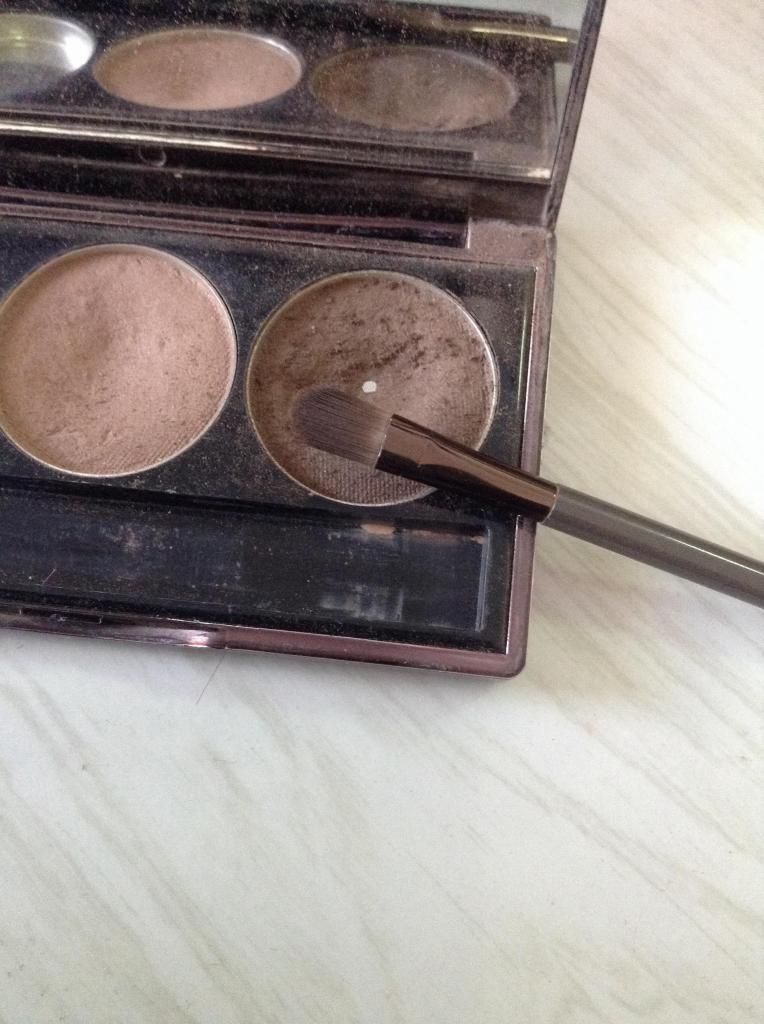
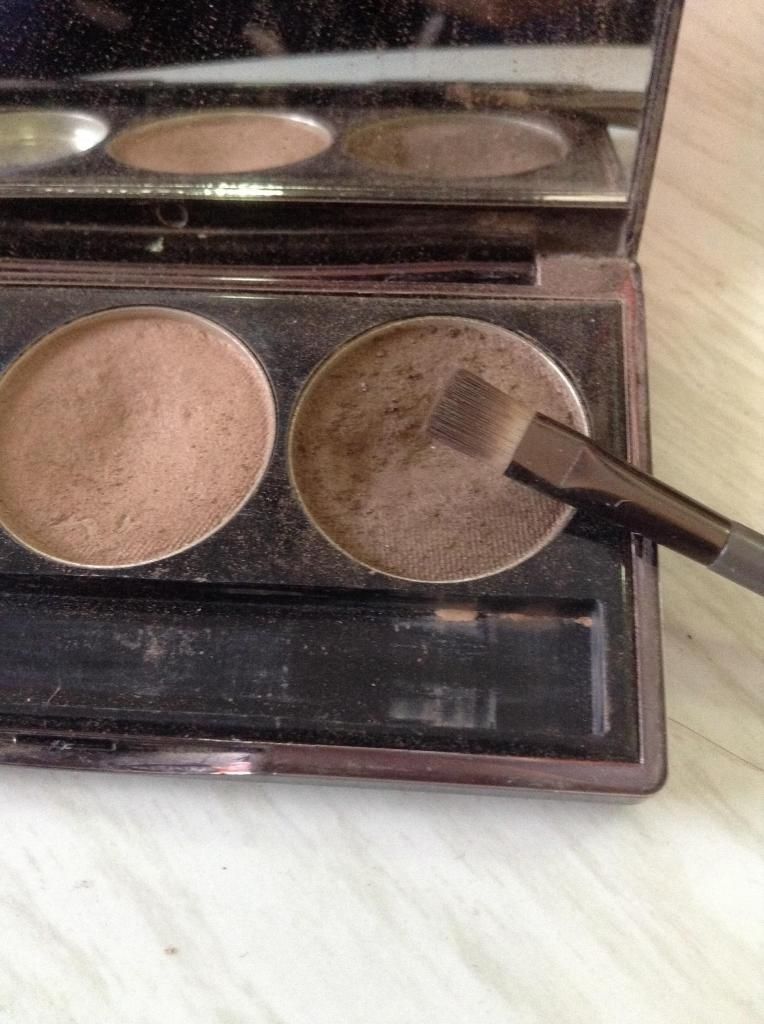
Nude by Nature pressed eye shadow palette in ultimate nude.
The small brush in the palette.
A lipstick brush.
1. Using the flat end of the brush and the colour you wish, for me I am going with the darker colour, mark out the top of the brow. Keep in mind, don't worry if anything is not neat right now we will be fixing this towards the end.
2. Do the same with the bottom of the brow.
3. Using the rounded end of the brush, fill in the middle.
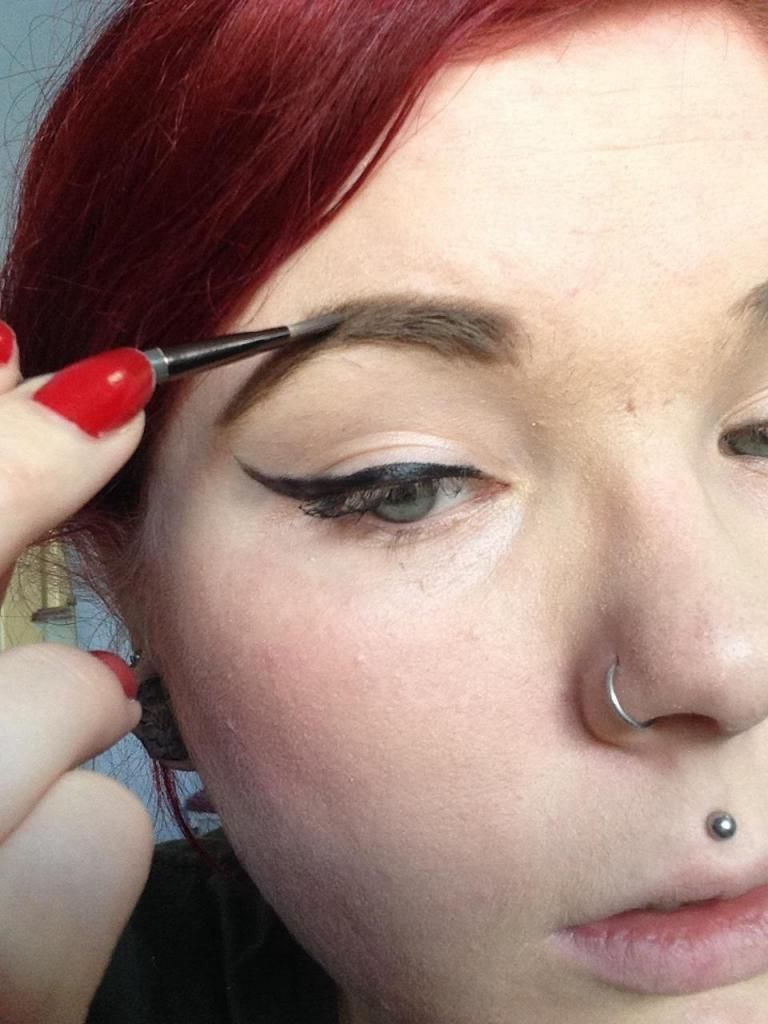
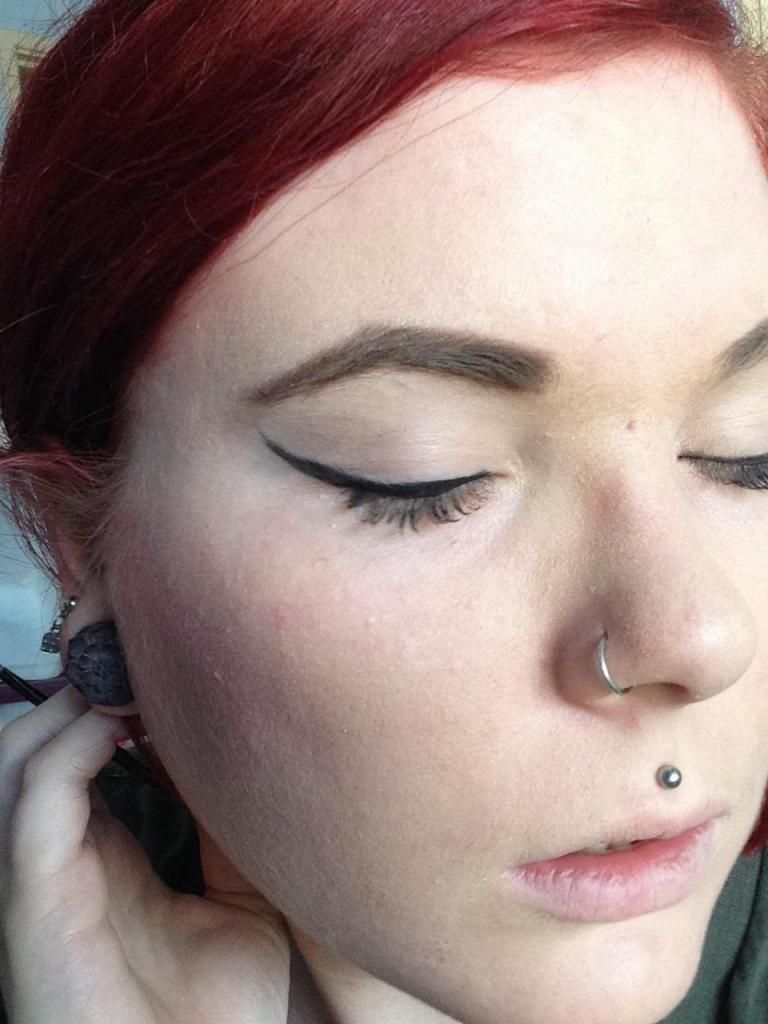
4. Now I use the rounded end of the brush to get the rounded end of the brow. Note that nothing is looking neat yet, this will get fixed :D

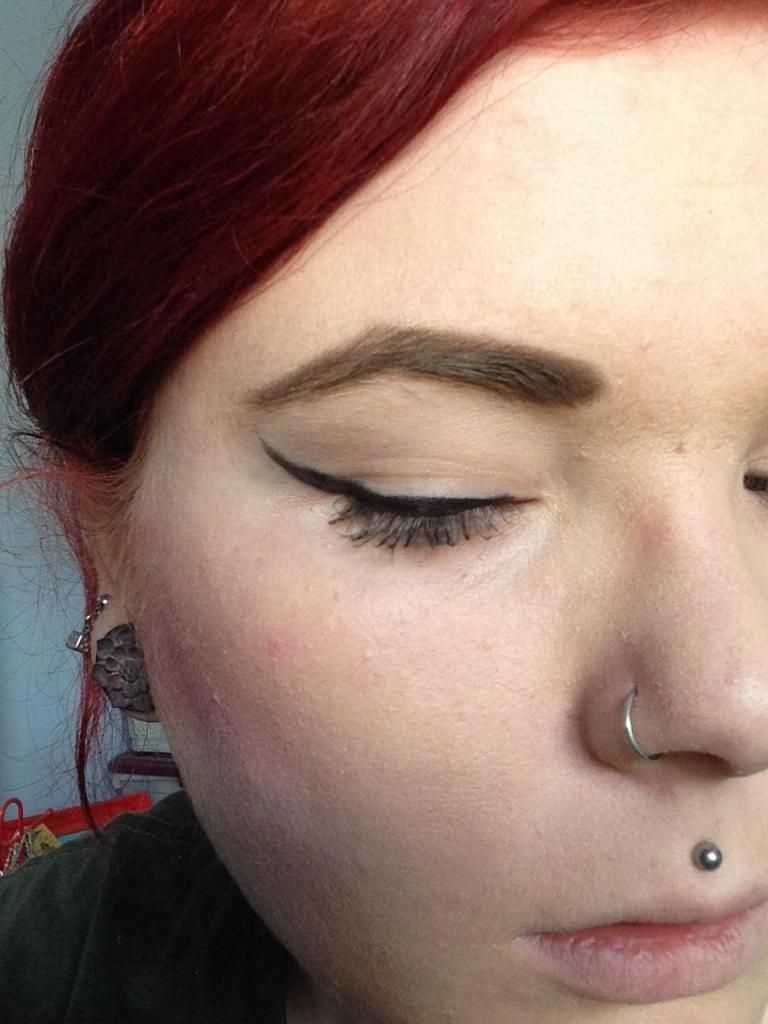
5. Now I use my foundation and the lip brush to go around the the brow to neaten up all the edges and make them look really sharp and defined.
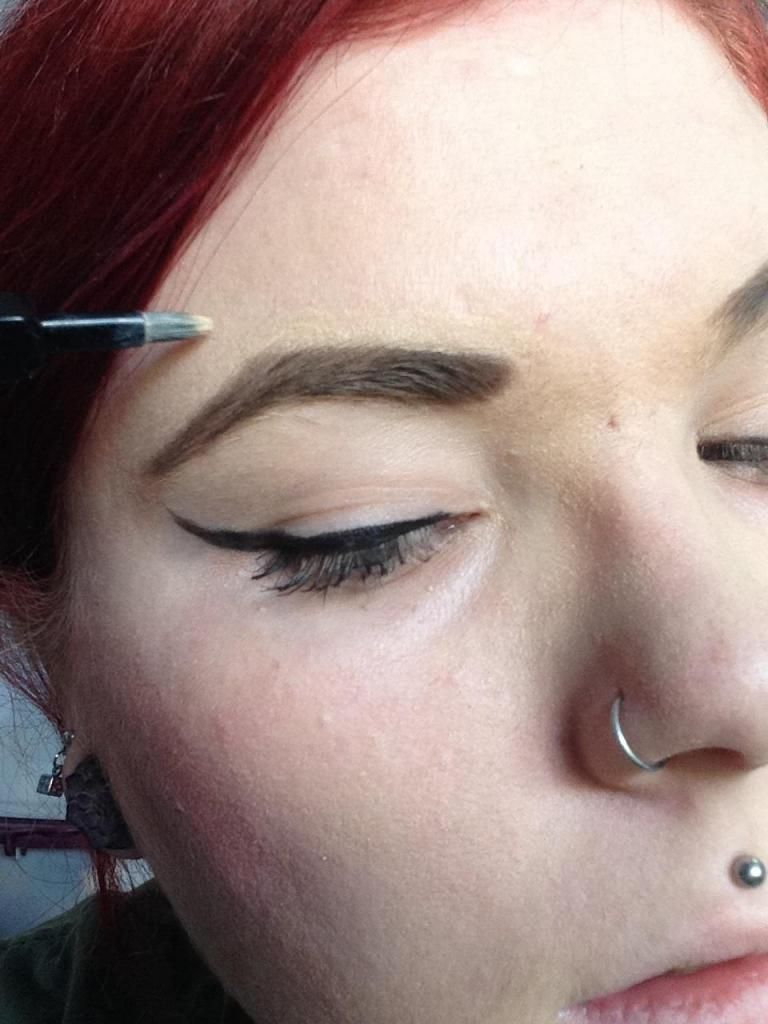
6. I use my pinky to blend the foundation in. You may also feel the need to go back around with the flat end of the brush to sharpen and neaten the edges a little more. I also find I may need to alter the shape a little here too. Sometimes I also use a little of my powder to even out the colour around the edges.
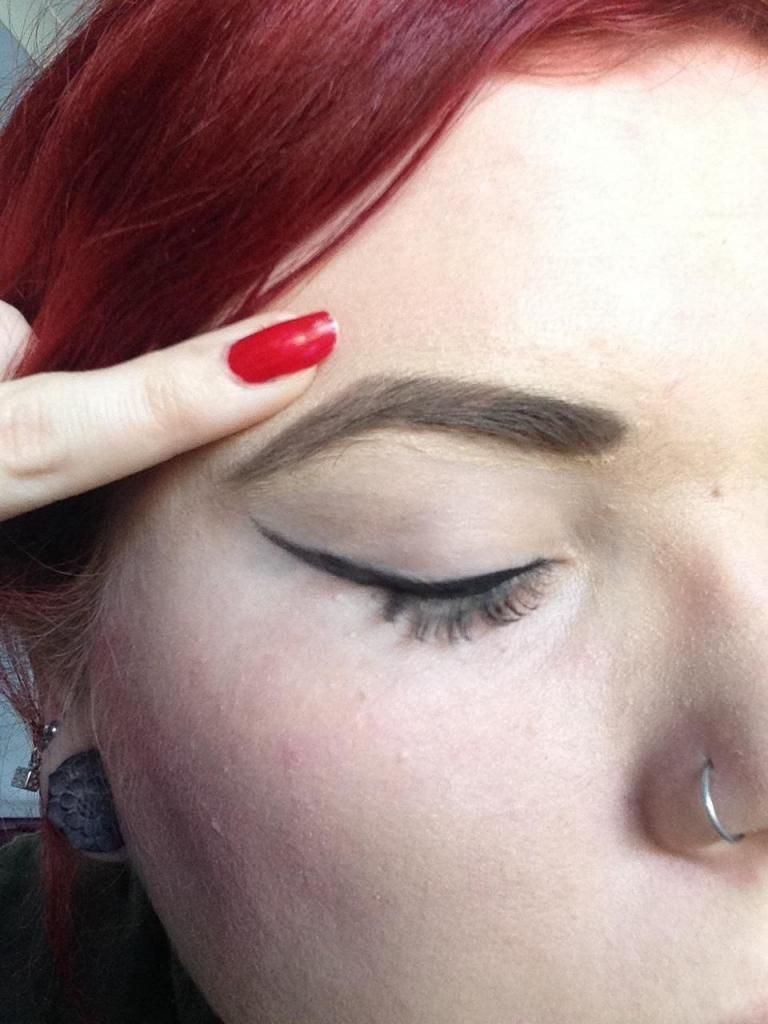
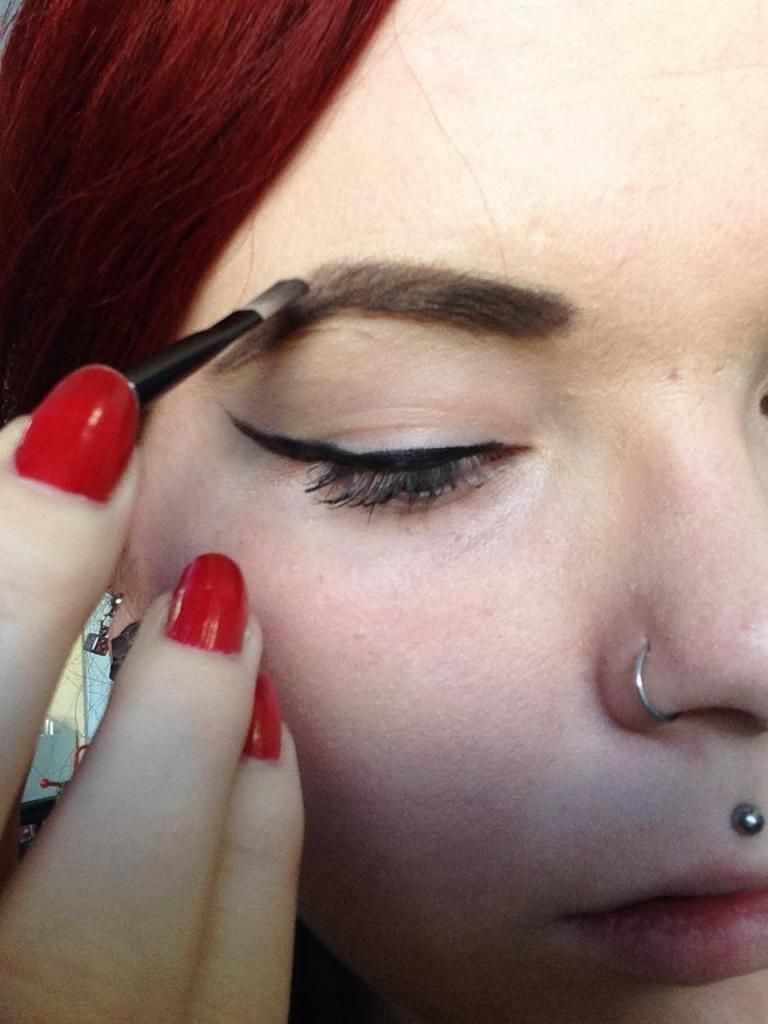
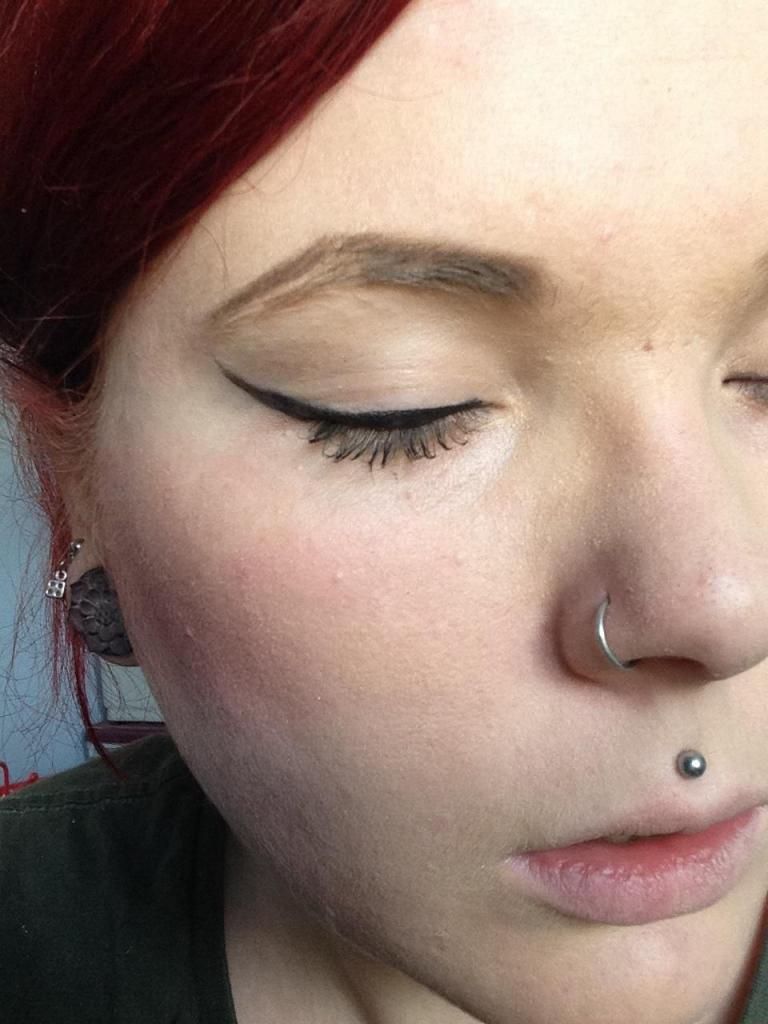
7. and we are done! I now notice I needed to shape mine a little better but you get the idea. Now do the other one :D

This comment has been removed by the author.
ReplyDeleteLove your brows- I do mine exactly the sane except I only use one angled brush and I use brow pomade when I'm going out :)
ReplyDeleteLove this post I would welcome more of these but whatever takes your fancy really :)
Just commenting to tell you that I nominated you for a Liebster Award (which is sort of a Q&A-get-to-know-your-fellow-bloggers-award) on my blog.
ReplyDeletehttp://one-sonic-bite.com/2014/08/liebster-award/
Your brows look great! I've only started paying attention to my brows in the last year or so and I can't believe I spent so many years with my naturally wonky brows!
ReplyDeleteI've never had much luck with powder and instead go with a pencil and/or a gel and an angled brush. I know powder would help soften the look, but I haven't found the right color. Plus, I'm super lazy during the week (I like to be out the door in 15 minutes) so I don't bother with the foundation/concealer to clean them up.